
A need arose for version control on various on-going Epic Unreal Engine (UE) projects. Our initial attempt with git/git-lfs was only partially successful.
Epic does have a page about version control. Essentially they suggest either Perforce or SVN. A bit of searching suggests most UE shops use Perforce. No one here had experience with Perforce and setting it up turned out to be more complicated than we assumed it would be. We freely admit this is probably our fault.
Here we describe how to setup up Perforce server and clients for an internal network (LAN) for multiple clients and users for UE projects. While it would be straight forward to allow WAN connections, to minimize the surface for external attacks, we decided not to do this. We have a mixture of computers running windows 10/11, Linux and macOS.
Here is the outline for this article:
- Preliminaries
- Installation of Perforce server (PVD)
- Installing P4V
- Creating the first user
- Create Users and Depots
- Setting up Perforce for UE projects
- Creating Workspace and populating depot from an existing UE project
- Setting up Perforce clients
Preliminaries
Perforce is based on a a server/client model. The server is the computer which will store the files (and all their revisions). In Perforce terms, this is a depot (we do not cover streams here). The clients pull and push files to the server based on a Workspace. A Workspace is also stored on the server and consists of a mapping of files in depots to local working files on a client machine. This local copy is fetched and changes are pushed back to the server according to a Workspace. Typically one depot is used for one UE project.
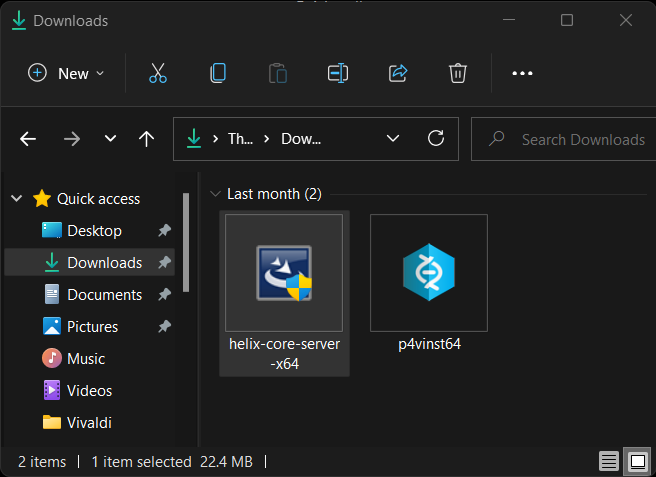
The first thing you need to do is download the server (called “Helix Core Server” but also referred to as “P4D“, confusingly on Windows we run an equivalent “P4S” service) and the client (called “P4V“) software for each target client machine (for macOS P4 and P4V are available from Homebrew while Linux often have packages). Regardless, after filling out some contact information (do expect Helix to contact you), the files can also be downloaded from here. This software is free assuming you have less than six users and 21 depots.
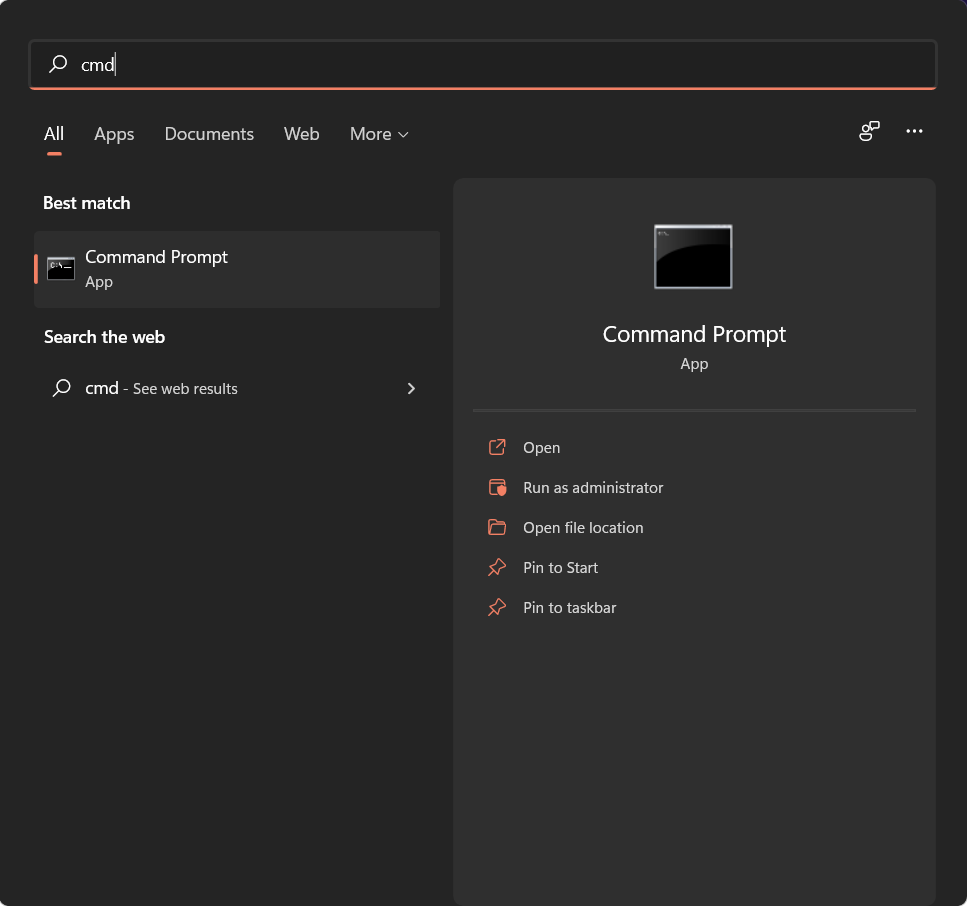
The server will run on a machine that all clients will connect to, therefore it should stay up and awake to respond. Decide on the machine which will be the server. We start with the server. You need to find the hostname for the server. Our choice for a server is a Windows 11 computer. So, from the Start menu, type cmd and select Command Prompt (on macOS/Linux start a Terminal).
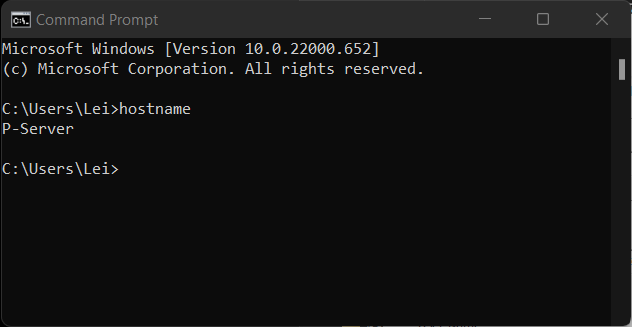
In the resulting Command Prompt window, type hostname followed by Enter.
You can change the hostname if you want by going to Start>Settings>System>About and hitting Rename this PC.
For the rest of this tutorial, we will use P-Server as the hostname of the server. You should substitute your hostname for P-Server.
Installation of Perforce server (P4D)
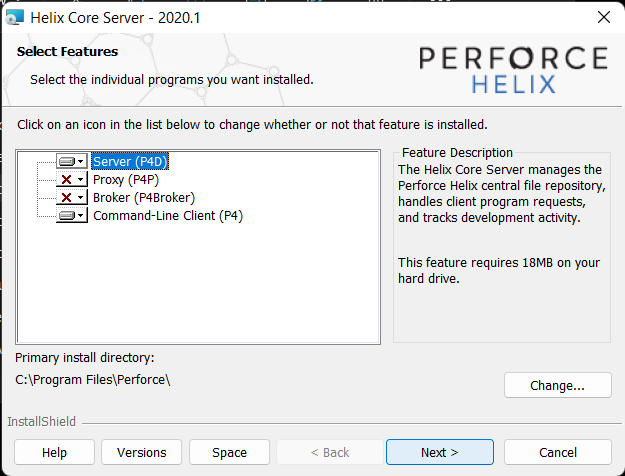
Install (as “Administrator“) “P4D” or Helix Core Server on the server machine (accepting defaults is fine). Click Next.
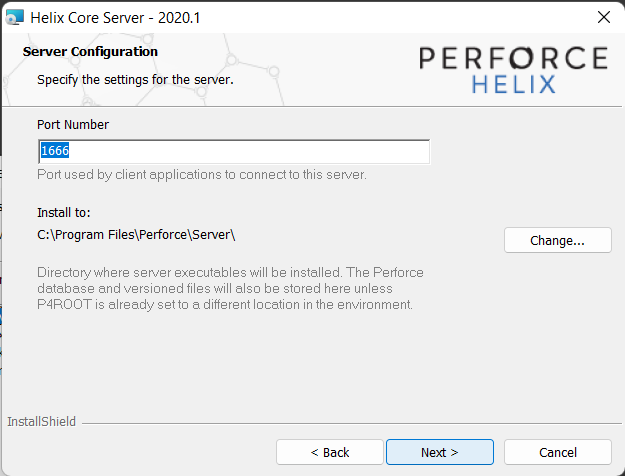
Unless there is a need, use the default port “1666” for the Port Number. If you choose a different port, then simply substitute that port for “1666” for everything below. Click Next.
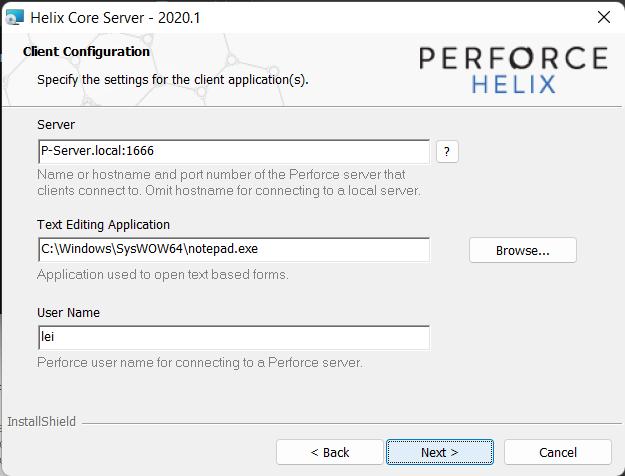
When prompted for Client Configuration, in the Server field use “P-Server.local:1666” (appending “.local” to hostname allows a typical LAN to find the server). For User Name type in your first user for Perforce (suggest avoid using spaces or special characters). Click Next.
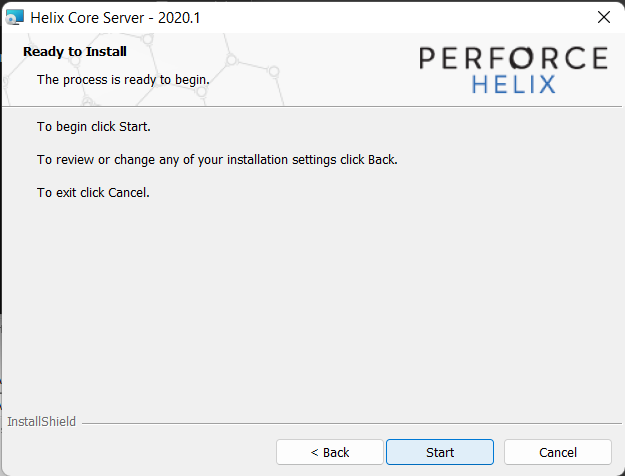
Install P4D on the server. Click Start.
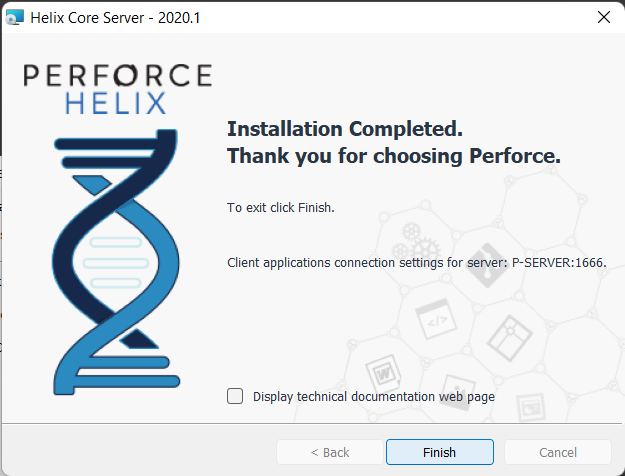
And the server will be installed. Click Finish.
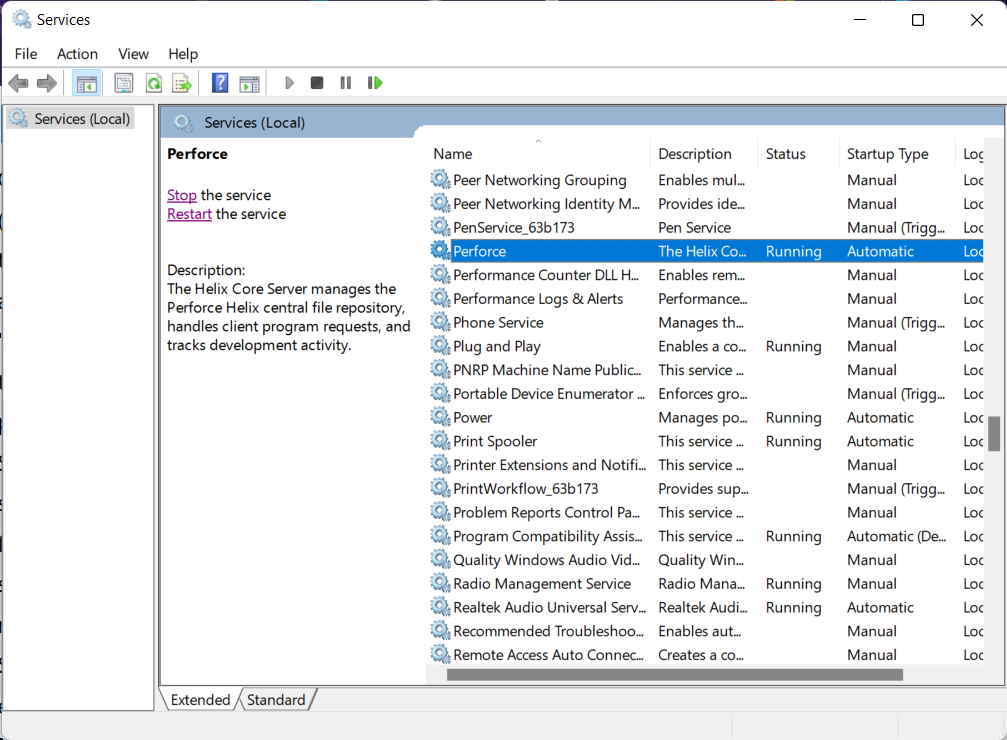
It should automatically start a Service for Perforce. You can check this by typing “Services” in the Start menu and then scrolling down the list and look for Perforce. Selecting Perforce, it should say the service is running.
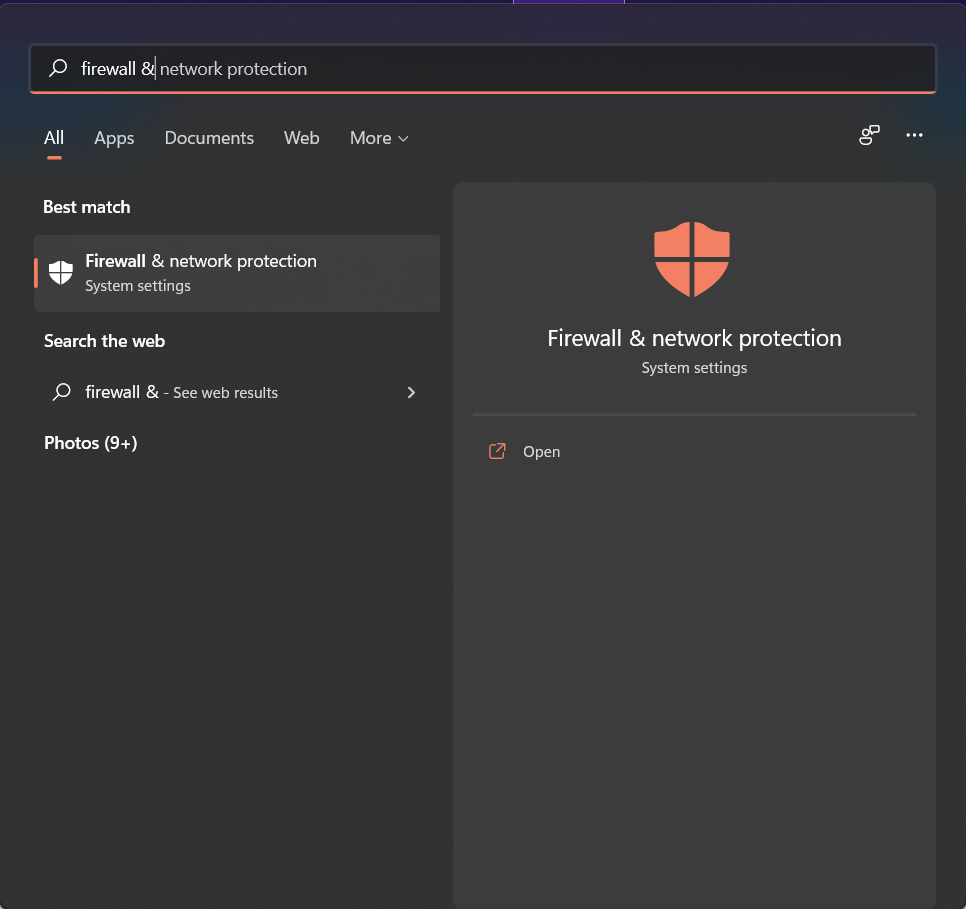
For other machines to reach the server, you need to open up port 1666 in the Windows firewall. From the Start menu type “Firewall & network protection” and hit Enter.
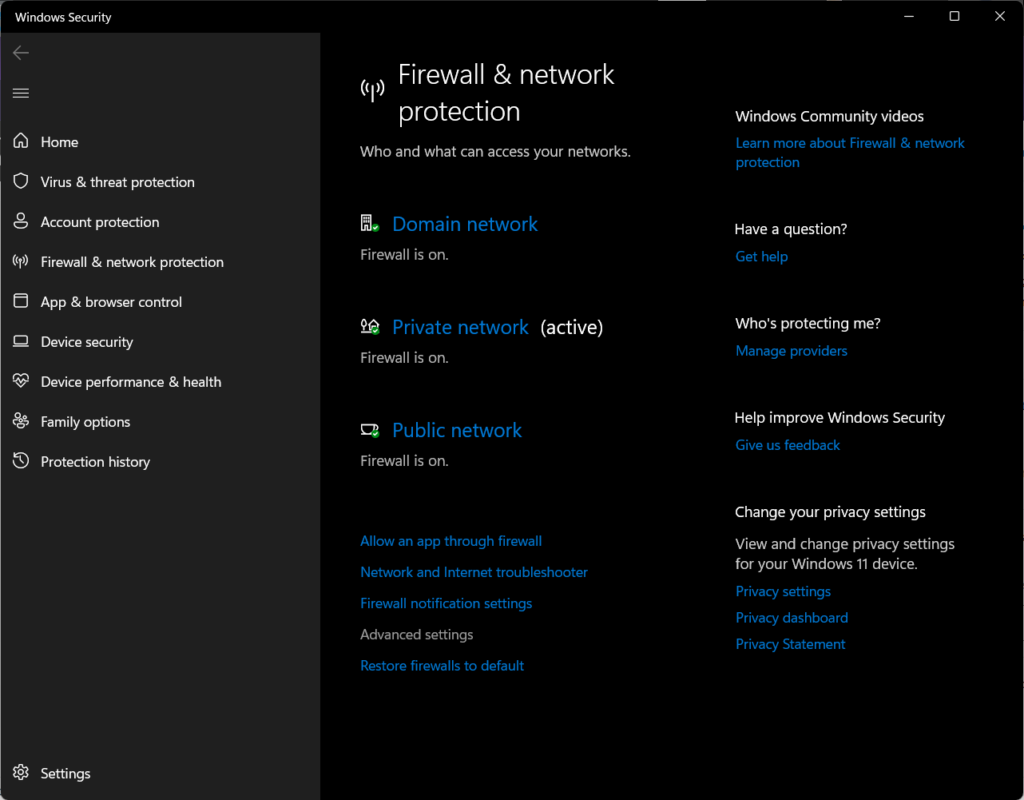
Click on the “Advanced settings” near the bottom center.
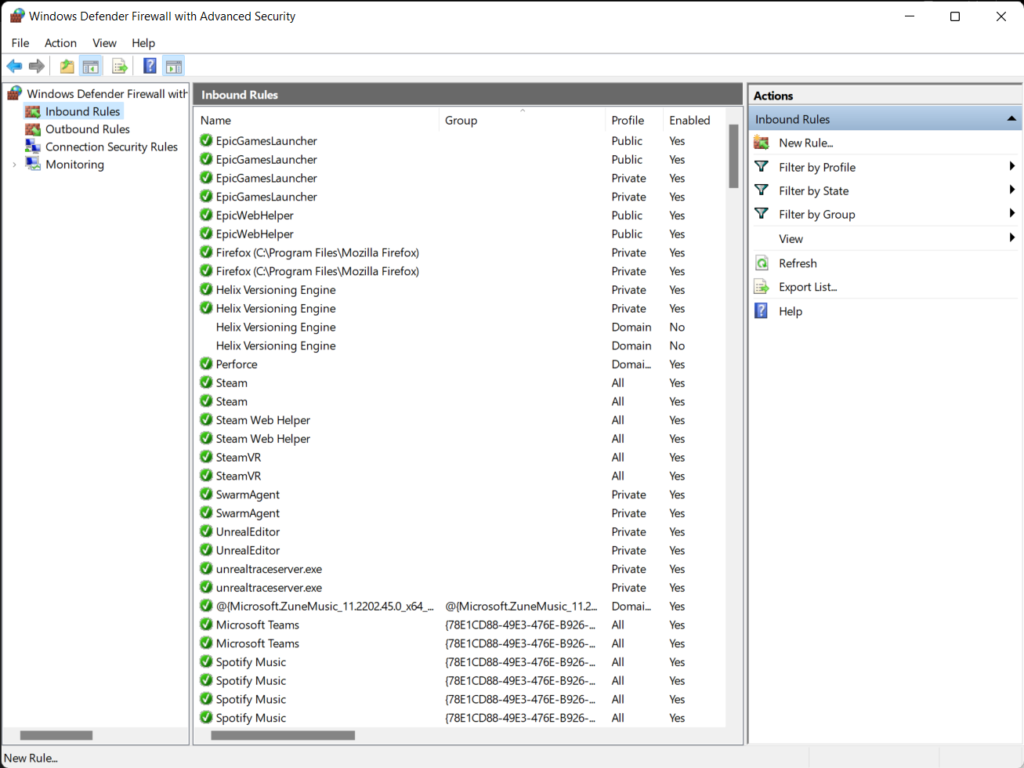
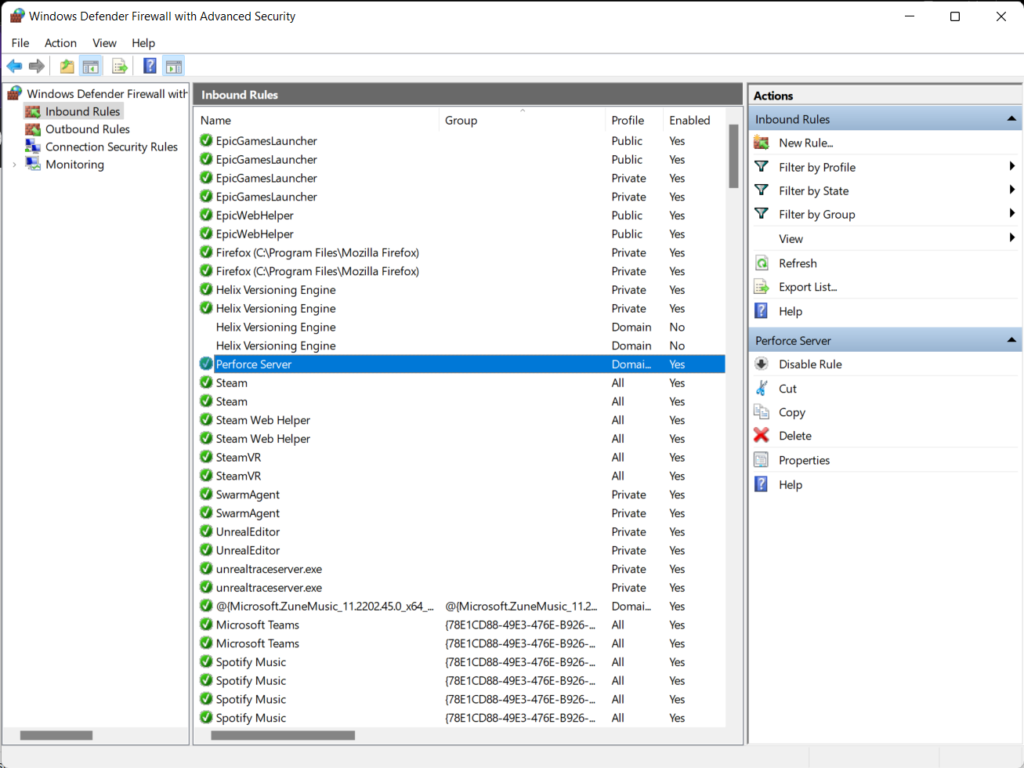
On the left, you see a column. Double-click the “Inbound Rules”. On the right, click “New Rule…”.
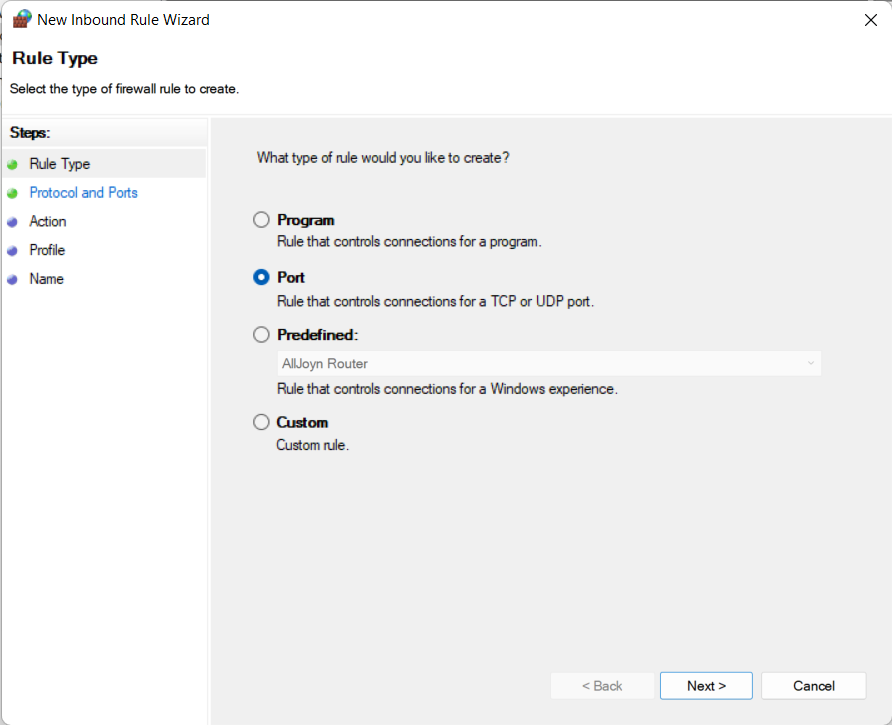
On the next window, select “Port” and then click Next.
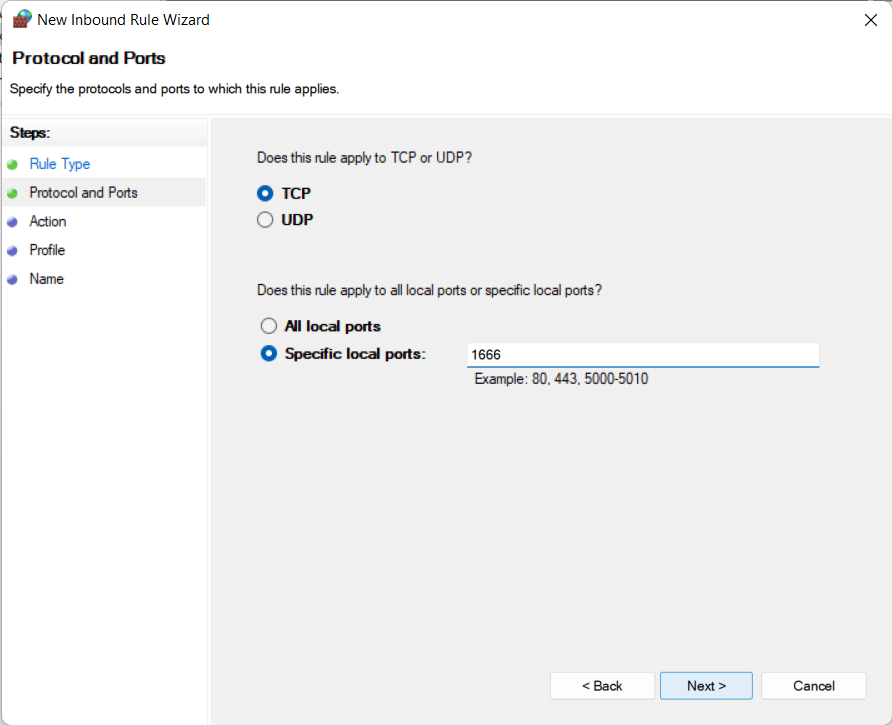
On this screen under Specified local ports, type in “1666” (w/o the quotes) and click Next.
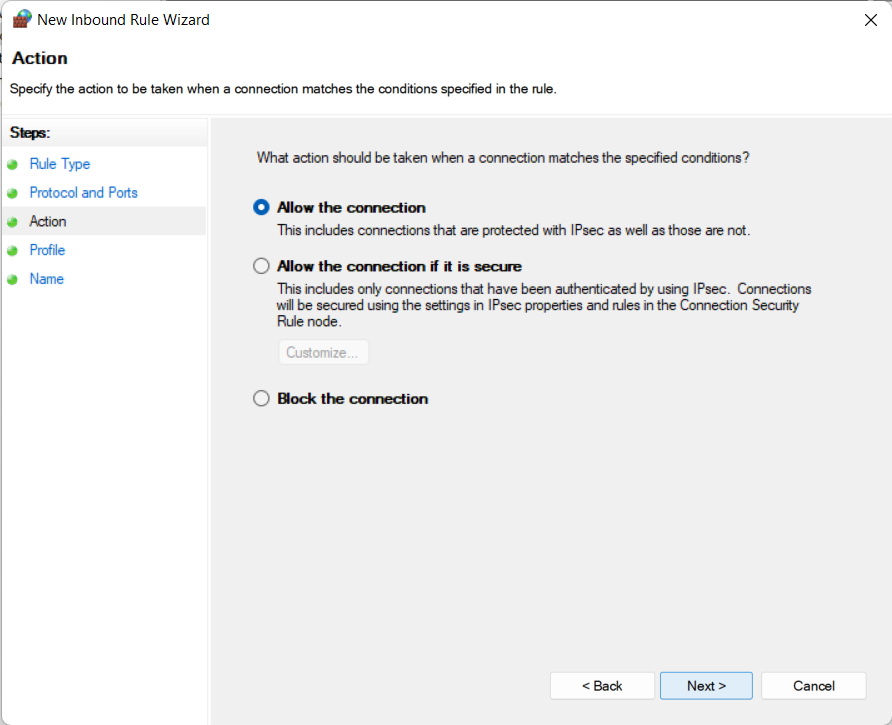
Make sure “Allow the connection” is enabled and click Next.
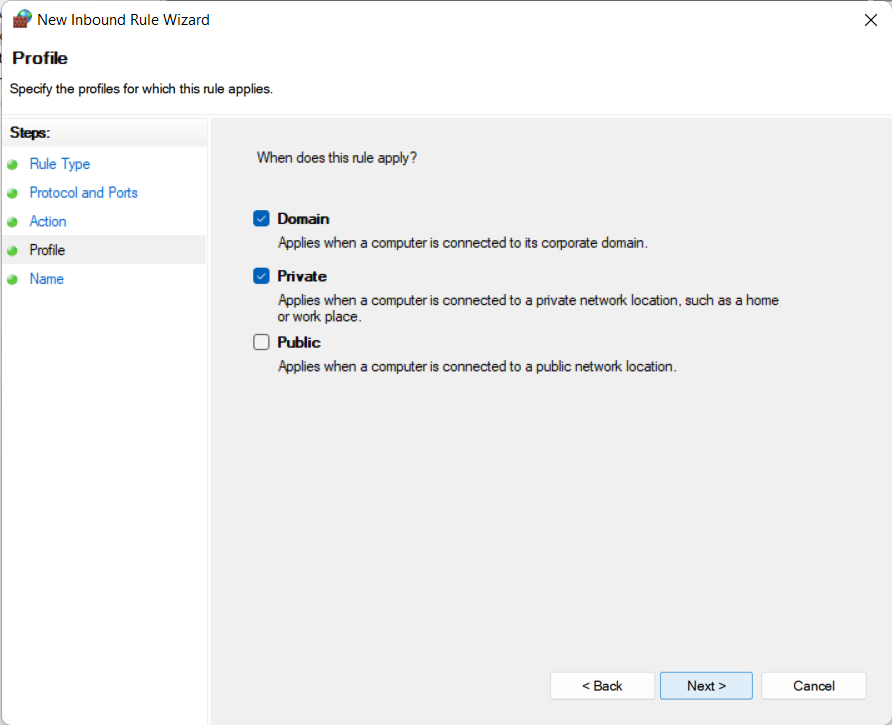
You can uncheck the “Public” option if you want or leave it be. Click Next.
For Name, use something descriptive, say “Perforce Server” and under Description say something like “incoming for Perforce Server”. Click Finish.
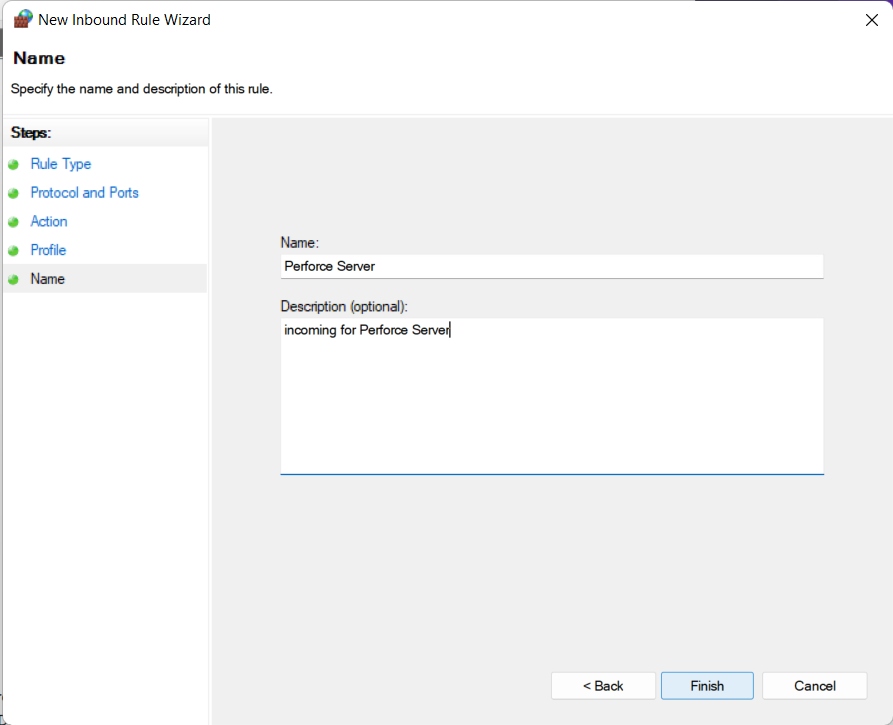
You should now have the Perforce server running and it can accept incoming connections on port 1666.
Stay on the server machine for the next section.
Installing P4V
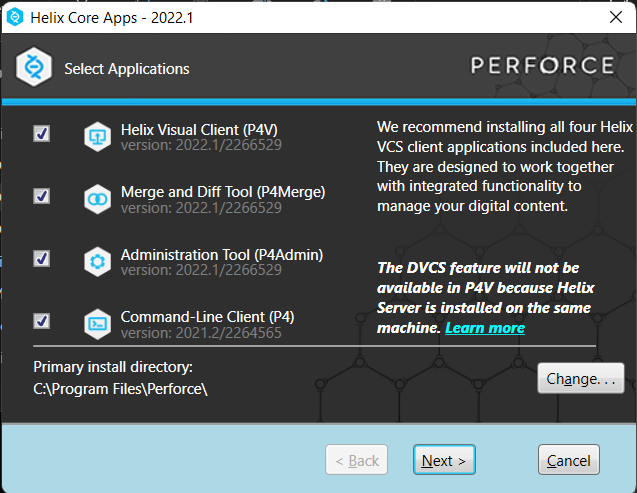
We will now install P4V (as Administrator). Under Select Applications, ensure all options are selected. Click Next.
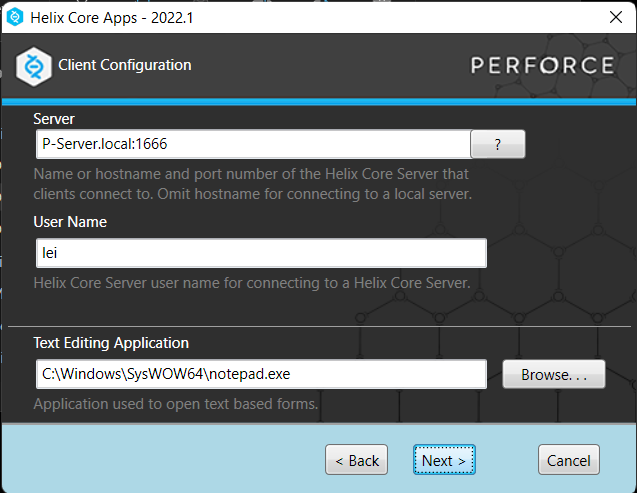
For Server field type in “P-Server.local:1666“. For User Name type in a user (either new or existing) typical for this client. Click Next.
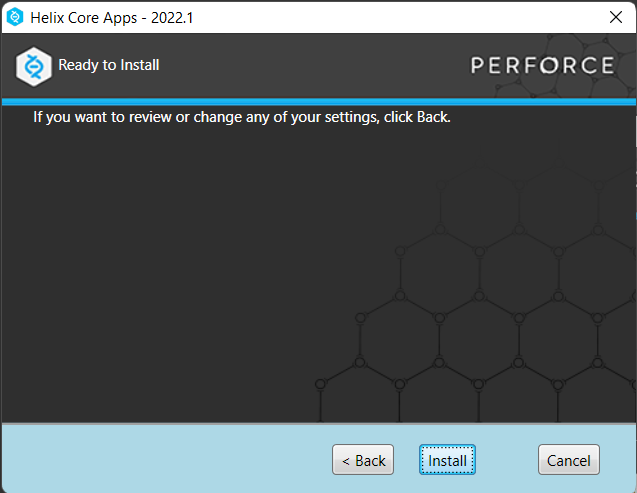
Click Install.
Click Exit.
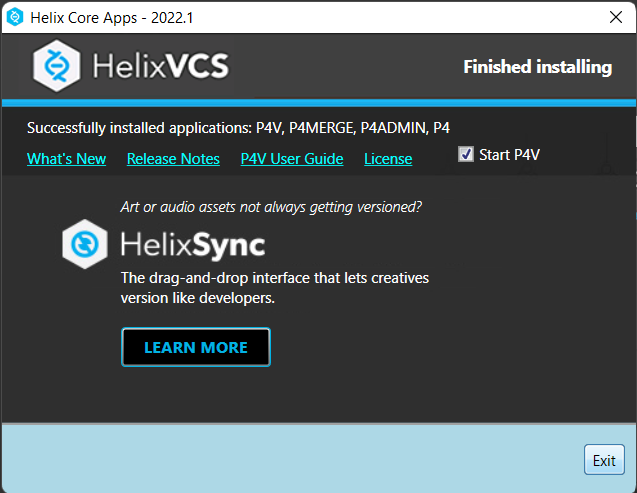
P4V should now start automatically (otherwise it can be started from the Start menu). Since this is a new install, it asks for a Connection.
Creating the first user
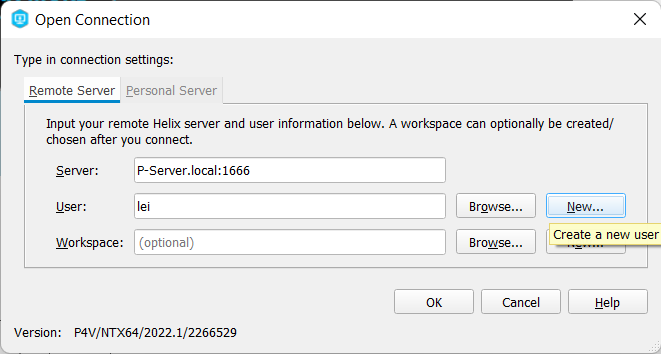
In the Open Connection dialog, confirm Server field is “P-Server.local:1666” (adding “.local” to end of hostname allows name resolution on a typical LAN). Type in a User (again no spaces or special characters) and it can be the same or different. We will soon make this user the super user. Since this is the first time setting up Perforce, click New… to the right of User.
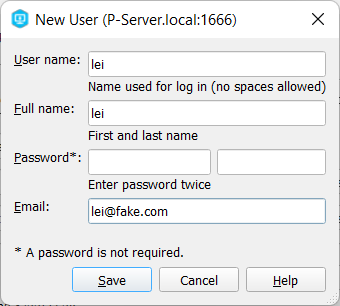
In the resulting dialog type in the User name again, if missing, the Full Name and Email. You can leave the Password blank (or not) but everything else must be filled out. Click Save.
Create Users and Depots
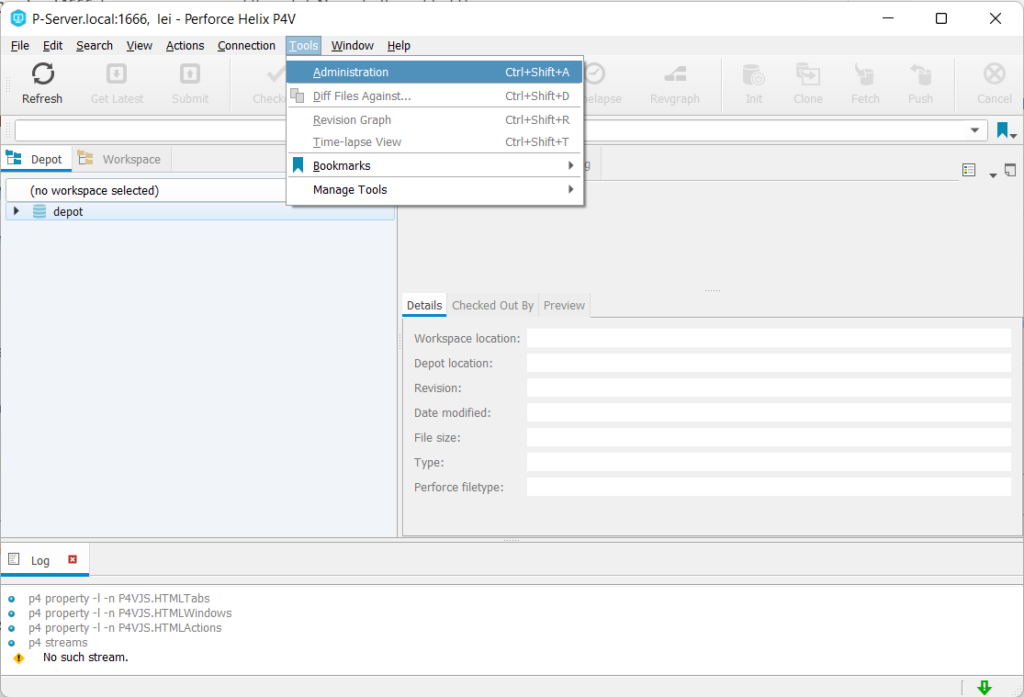
From the Tools menu, select Administration (or from the Start menu run P4Admin)
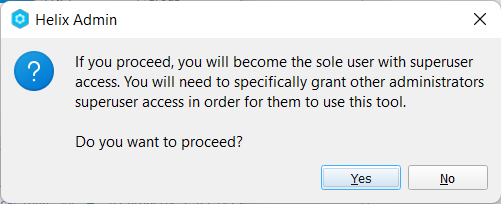
It’s likely the following dialog box is presented. So this user will be special. You can still use it as a typical user.
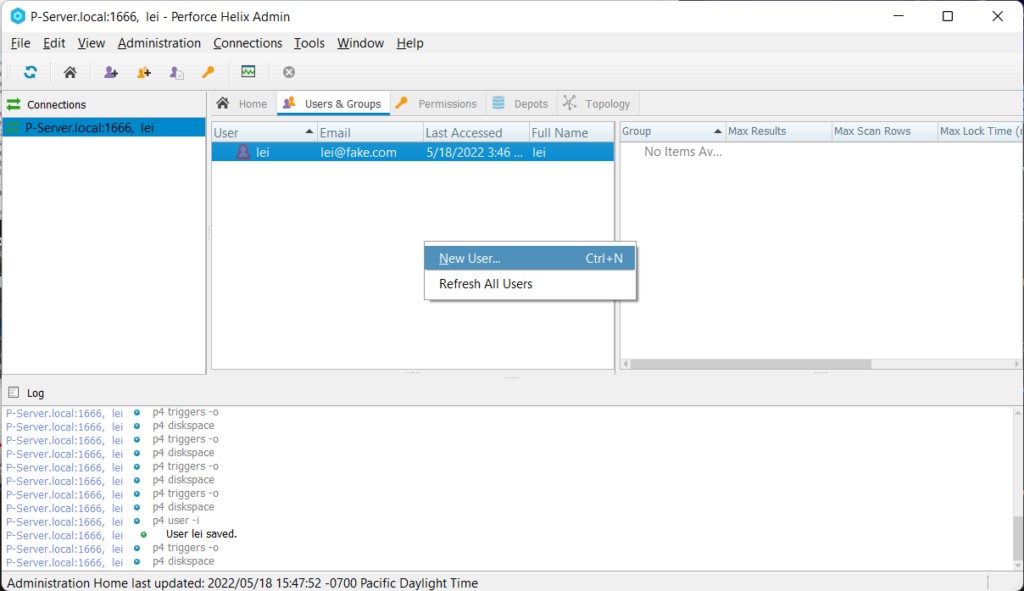
Let’s create another user, but just a standard one. Select the Users & Groups tab in the center panel and then right-click in the panel and select New User... (or from File>New...>User...)
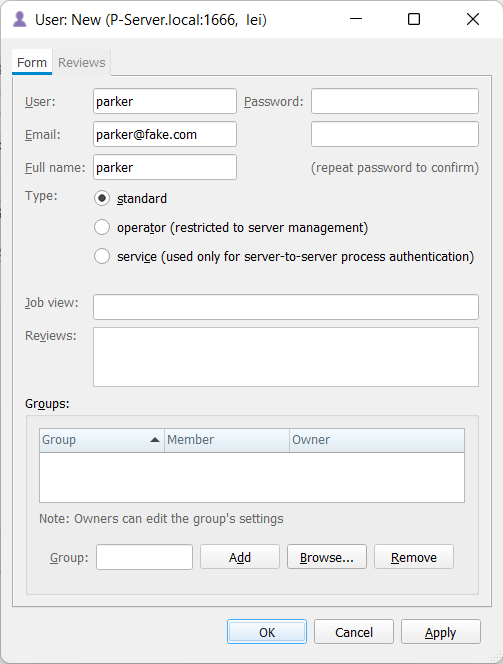
User, Email and Full name must be filled out. Type should be standard. Click OK.
Let’s create a depot for an UE project. From File>New...>Depot...

Type in a useful name for this depot corresponding to the UE project. Click OK.
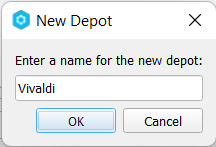
Select local for Depot Type. Click OK

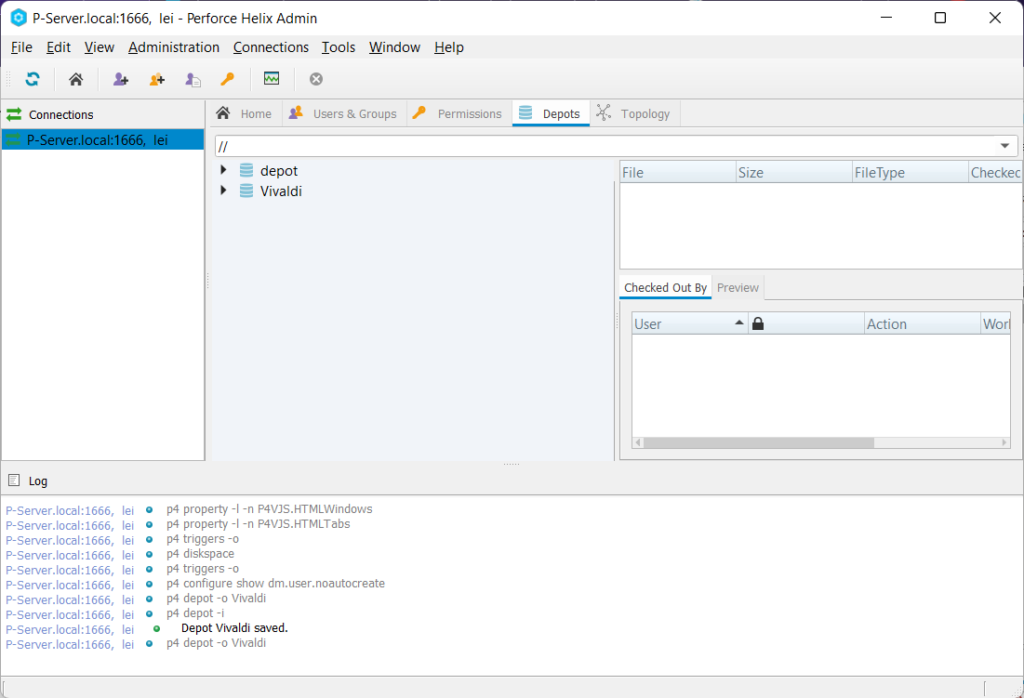
The new depot should be present (may have to press the refresh button) under the Depots tab
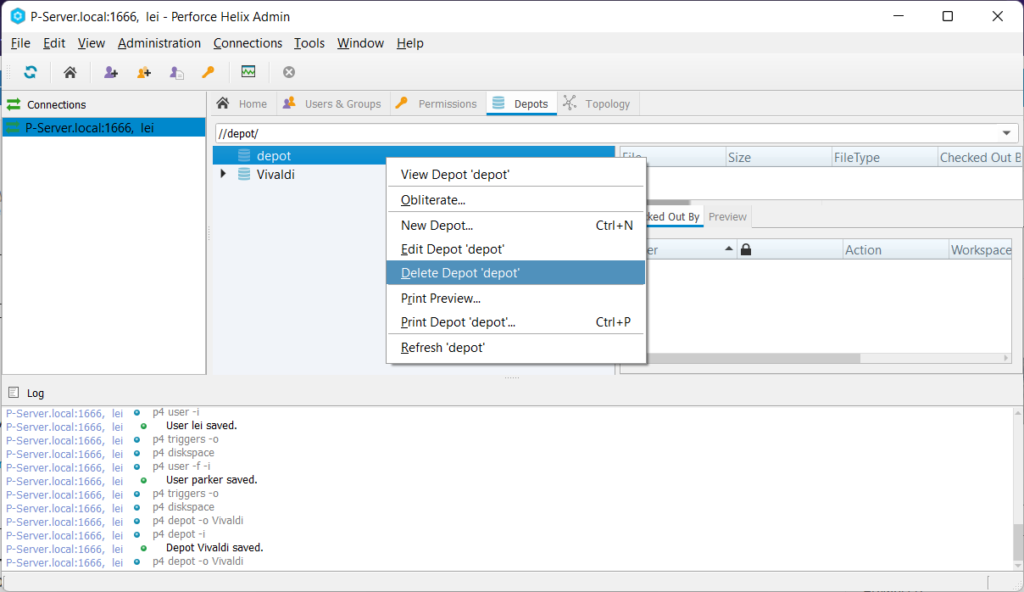
And let’s delete the default depot (don’t have to, but…). Under the Depot tab in the center panel, right-click depot and select Delete Depot 'depot'
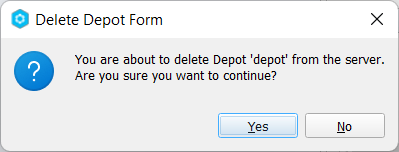
Click Yes on the confirmation dialog.
You can create more Users or Depots (recall one depot for each UE project). Once you are done you can close P4Admin.
Setting up Perforce for UE projects
Now we need to tell Perforce what and how to store UE projects. Still on the server machine, open a new Command Prompt, type “p4 typemap” and press Enter (you must open a new Command Prompt after installing P4V).
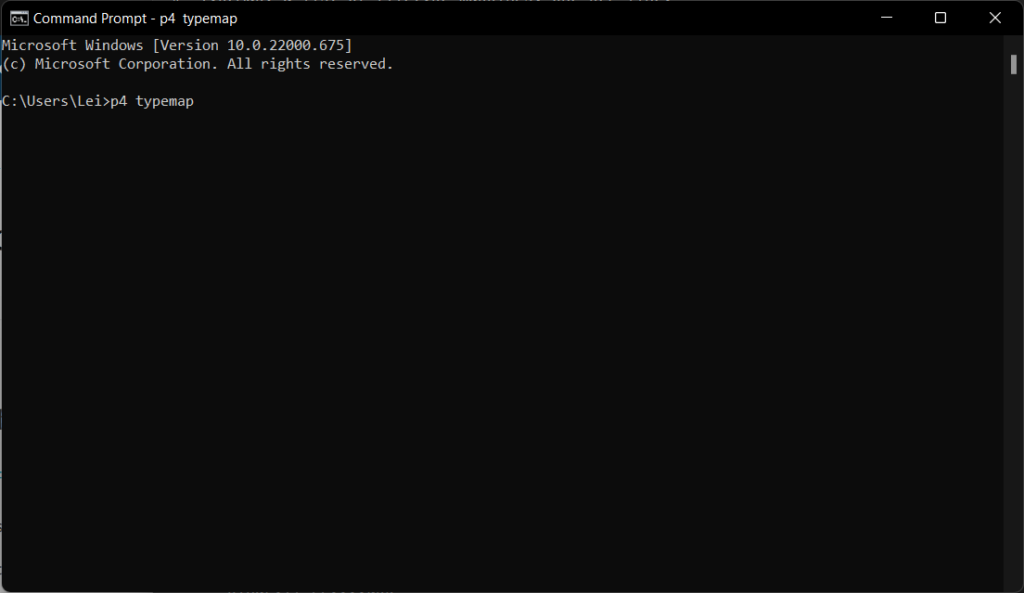
This should open up Notepad.
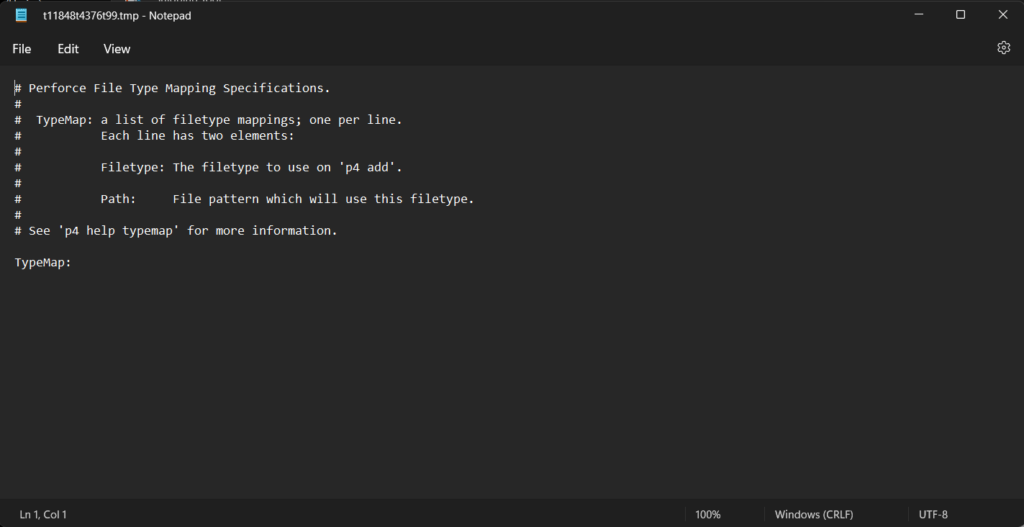
Copy and paste the following to replace the default template:
# Perforce File Type Mapping Specifications.
#
#  TypeMap:             a list of filetype mappings; one per line.
#                       Each line has two elements:
#
#                       Filetype: The filetype to use on 'p4 add'.
#
#                       Path:     File pattern which will use this filetype.
#
# See 'p4 help typemap' for more information.
#
# this will be for all depots. if you want for specific depot do something like
#               binary+w //depot/....exe
# this list is inspired from https://docs.unrealengine.com/5.0/en-US/using-perforce-as-source-control-for-unreal-engine/
TypeMap:
                binary+w //....exe
                binary+w //....dll
                binary+w //....lib
                binary+w //....app
                binary+w //....dylib
                binary+w //....stub
                binary+w //....ipa
                binary //....bmp
                text //....ini
                text //....config
                text //....cpp
                text //....h
                text //....c
                text //....cs
                text //....m
                text //....mm
                text //....py
                binary+l //....uasset
                binary+l //....umap
                binary+l //....upk
                binary+l //....udk
                binary+l //....ubulk
Save the file by pressing control-S and then exit Notepad. The Command Prompt should then show “Typemap saved“.
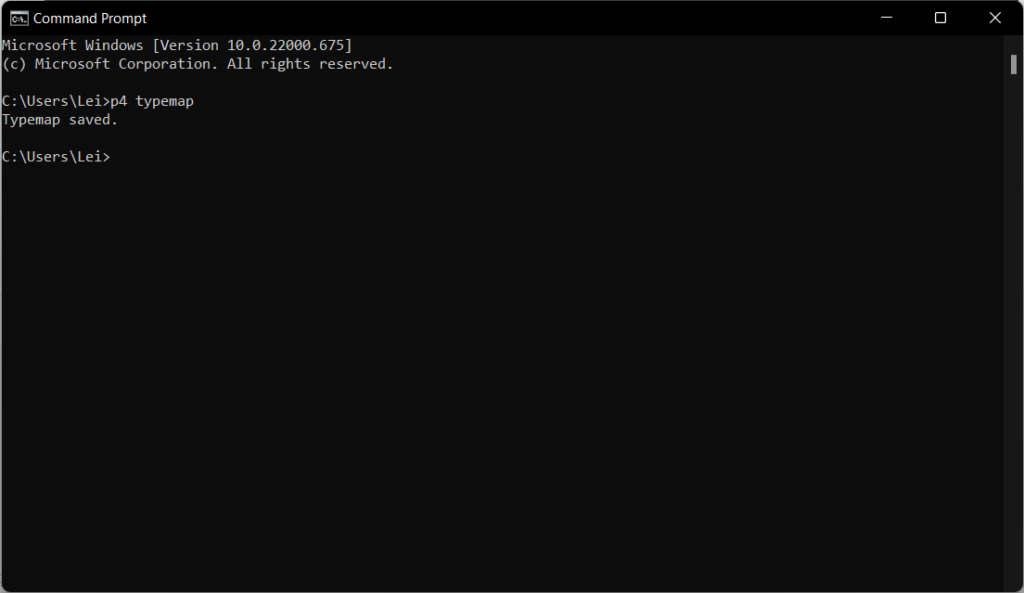
Now we have typemap set for UE projects. In the same Command Prompt, type “p4 set P4IGNORE=.p4ignore” followed by Enter (no spaces around the “=” sign).
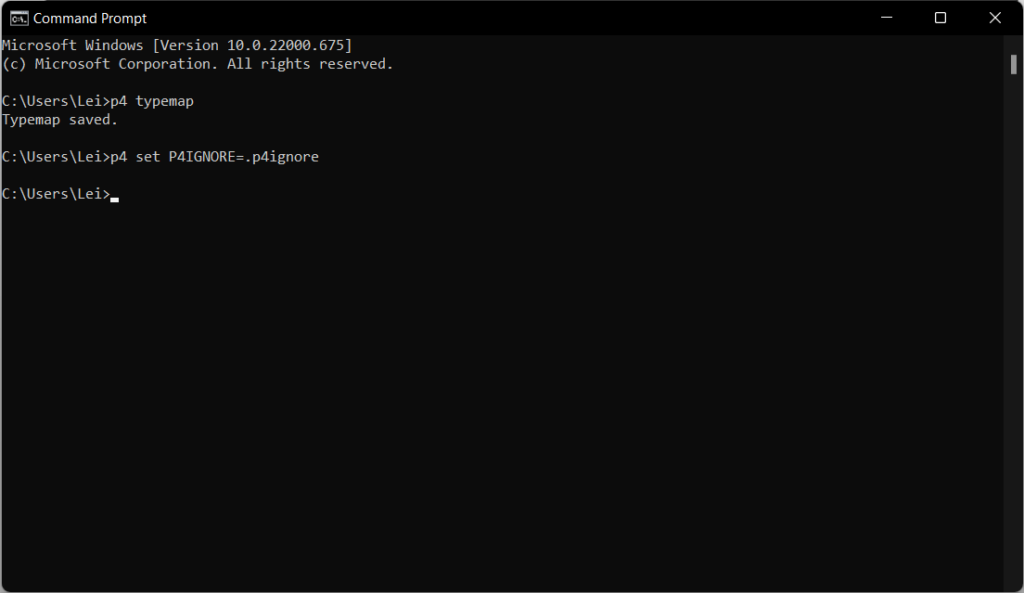
This completes the setup for the server.
Creating Workspace and populating depot from an existing UE project
Here we will start with an existing UE project. For bookkeeping, a good practice is to rename the UE project folder into the following format: <user>_<client machine>_<UE project name>. Our UE project is called Vivaldi so we rename the UE project folder to be lei_P-Server_Vivaldi.

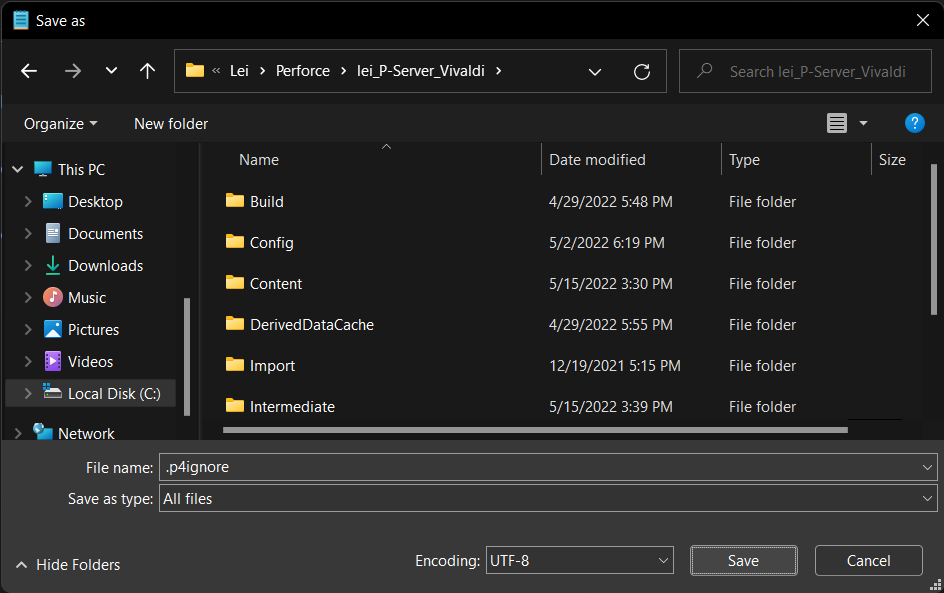
Now open up Notepad and copy the following into a new document
# based on https://www.perforce.com/products/helix-core/configure-helix-core-game-engine#tab-panel-76014
# User-specific folders or temporary files that should not be versioned.
	Saved/
	Intermediate/
	DerivedDataCache/
	FileOpenOrder/
	obj/
# Certain file types that should not be versioned.
	*.pbd
	*-Debug.*
# Visual Studio user settings files that should be ignored.
	.vs/
# Do not want macOS files
	.DS_Store
Type control-S to bring up the Save as dialog. Navigate into the UE project folder we just renamed. For Save as type select All files. Type in .p4ignore (notice the ‘.’ at the beginning) for File name. Click Save and close Notepad.
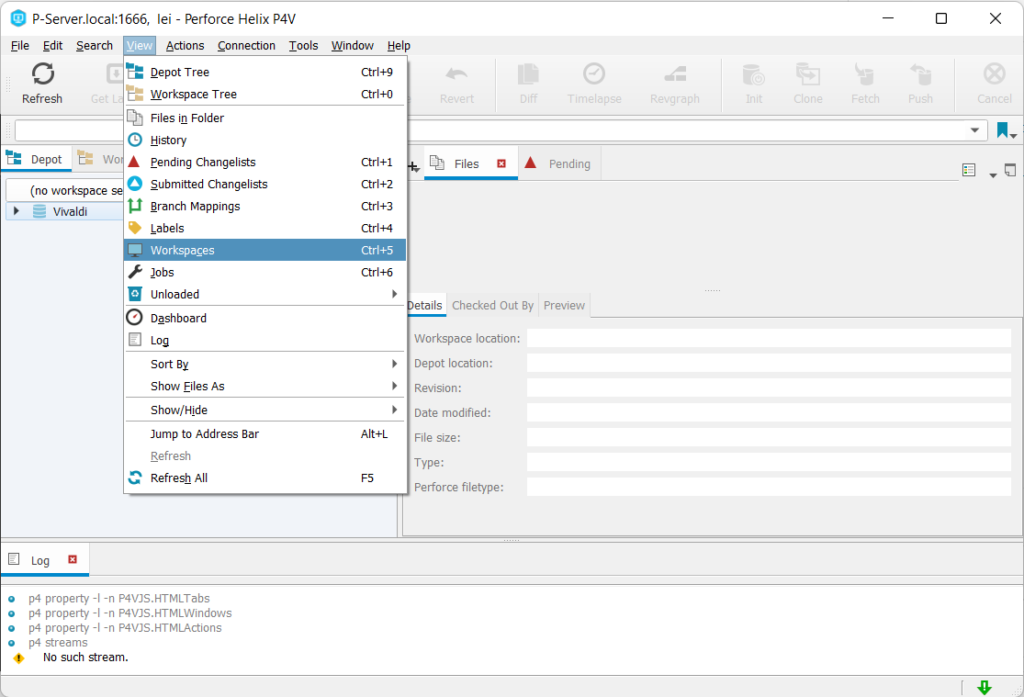
Going back to P4V, under the View menu, select Workspaces.
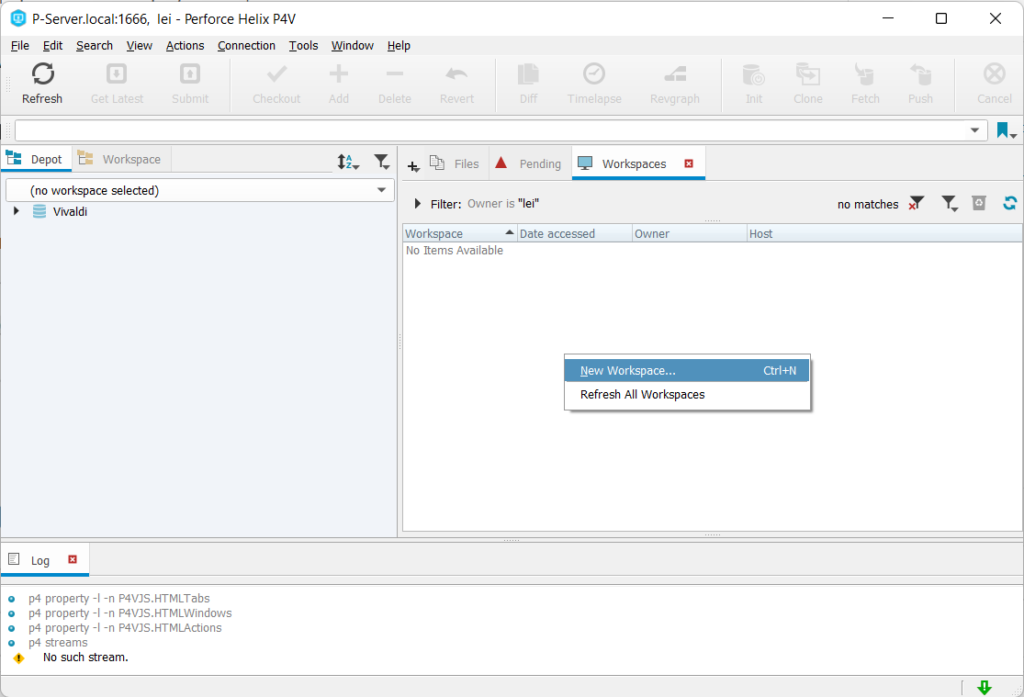
On the right of the p4v window, select the Workspaces tab and then right-click in the pane below and select “New Workspace...“.
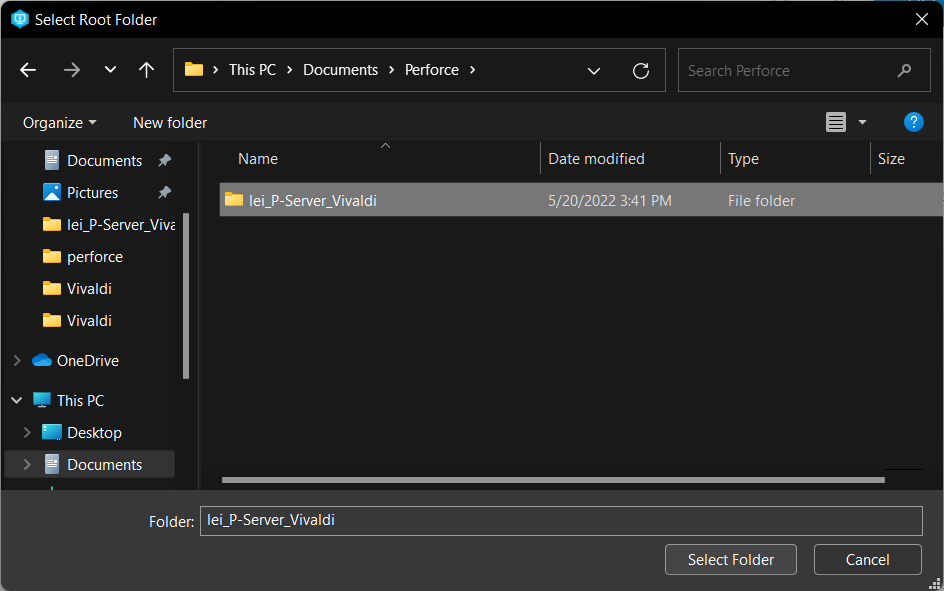
For Workspace root, hit the Browse… button
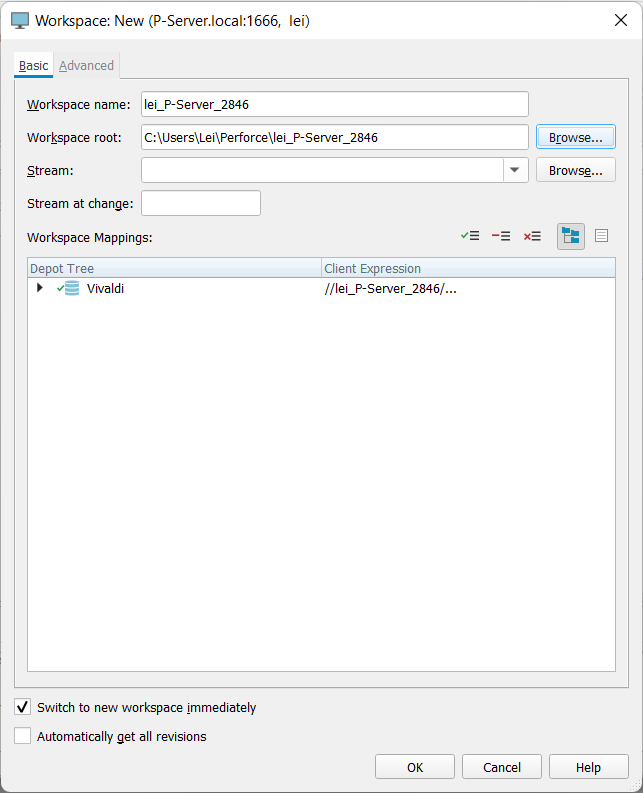
and navigate to the folder which holds your UE project and click Select Folder.
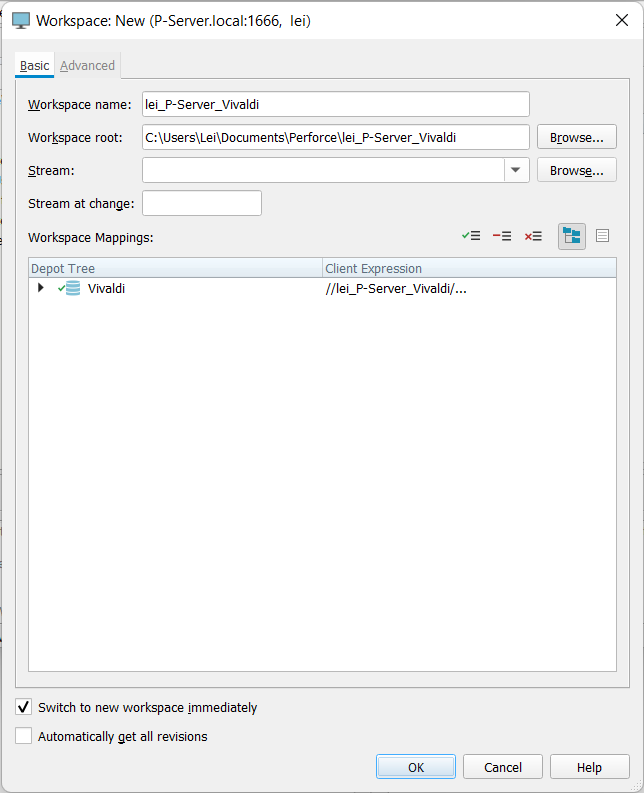
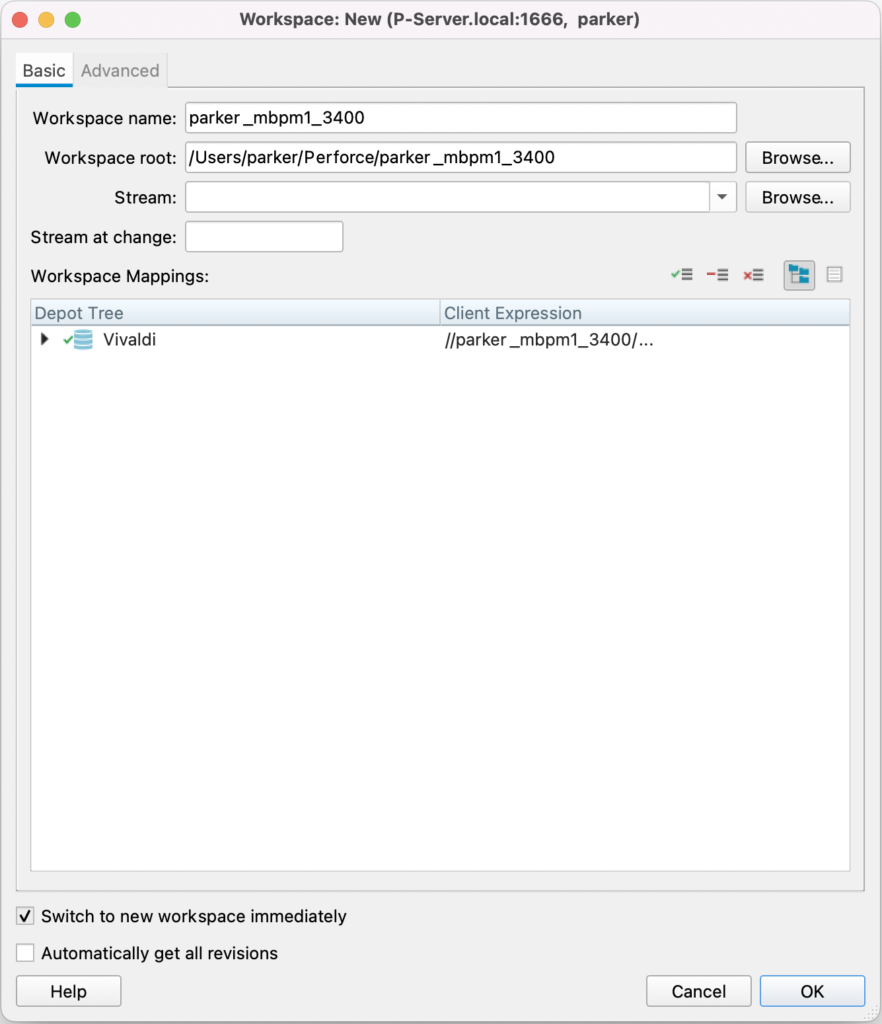
For Workspace name, the convention is to do <user>_<client machine>_<project name>. After editing, confirm Workspace root is still pointing to the correct folder.
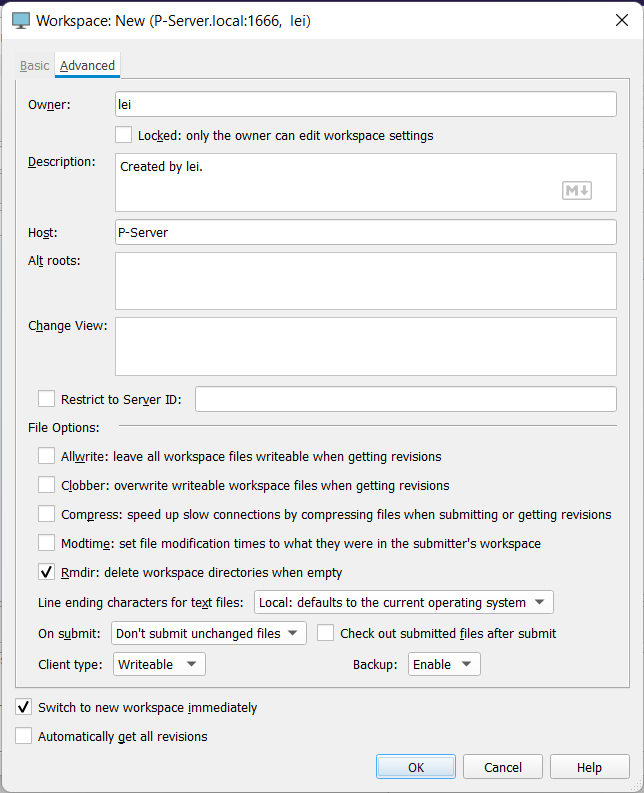
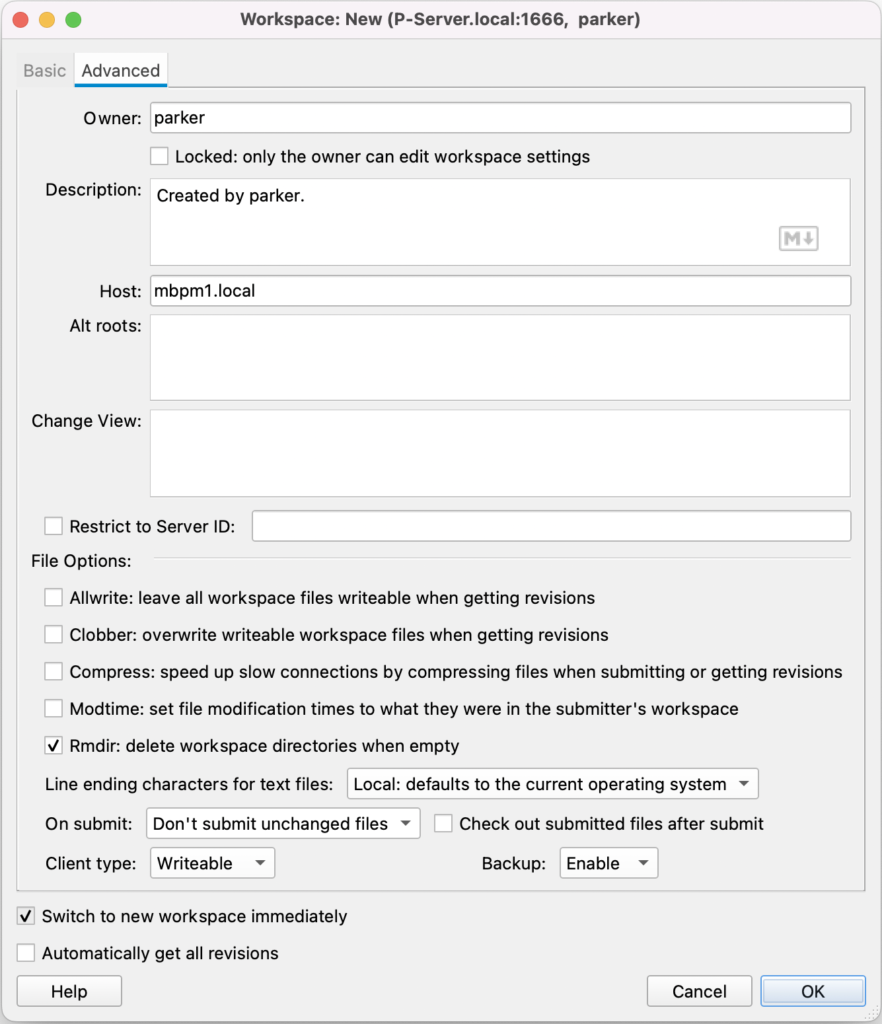
Click on the Advanced tab and select Rmdir: delete workspace directories when empty and from the drop down menu for On submit, select Don't submit unchanged files. Click OK
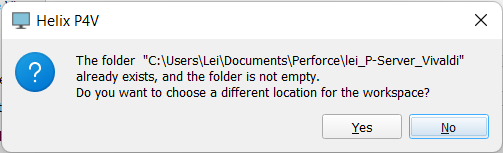
Dismiss the next dialog box by clicking No since you want to use an existing project.
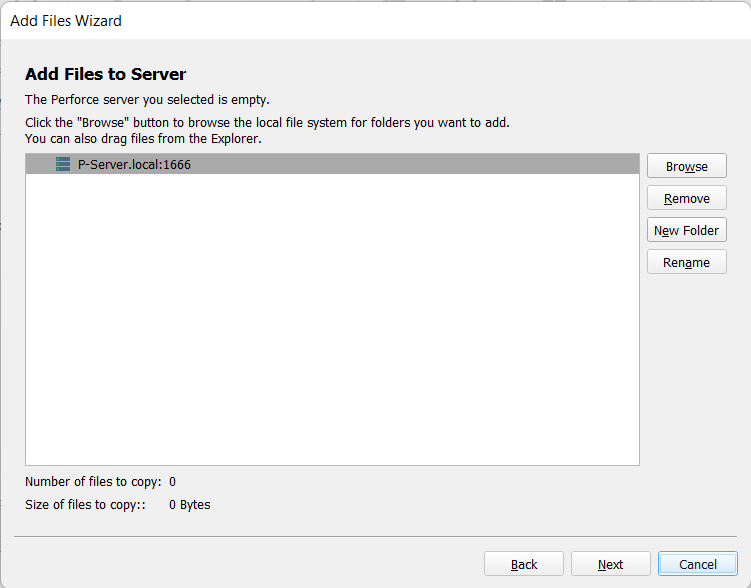
We had problems using the Add Files Wizard, so click Cancel.
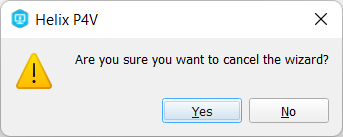
and dismiss the next dialog box by clicking Yes
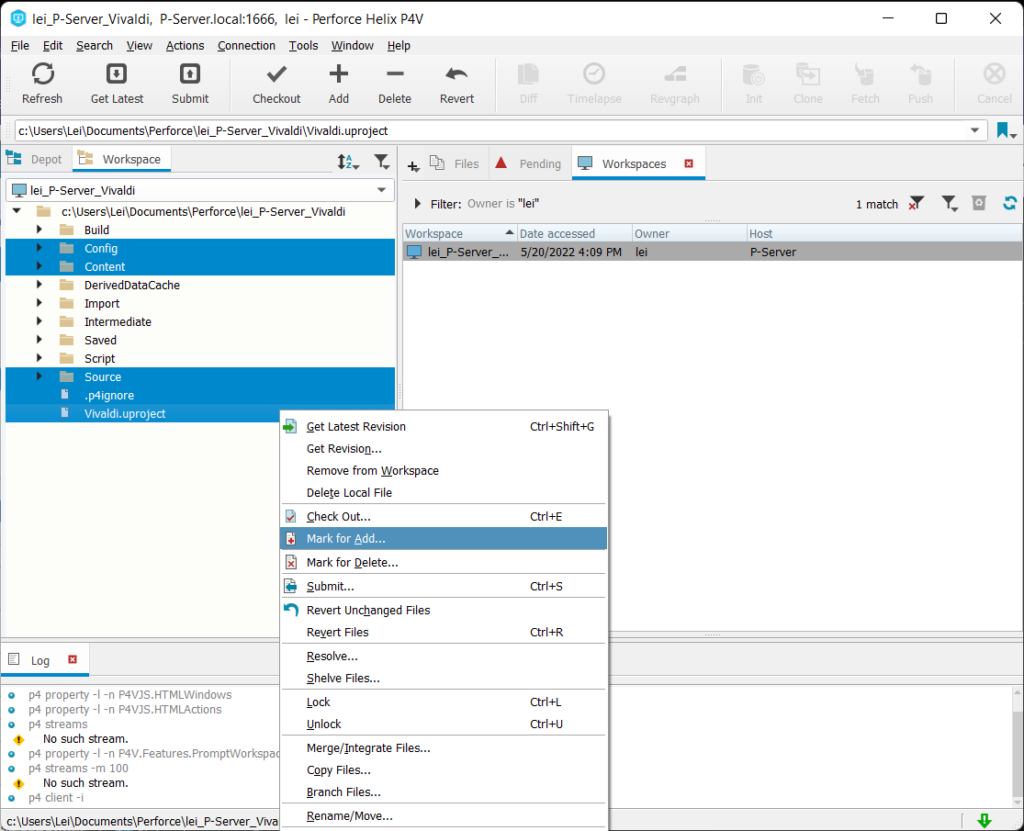
Click the Refresh button on top left. Click on the Workspace tab on the left panel. Using control key, select Config, Content, Source, .p4ignore and *.uproject (Source folder is only present if using C++ in UE). Then right click on the *.uproject and select Mark for Add...
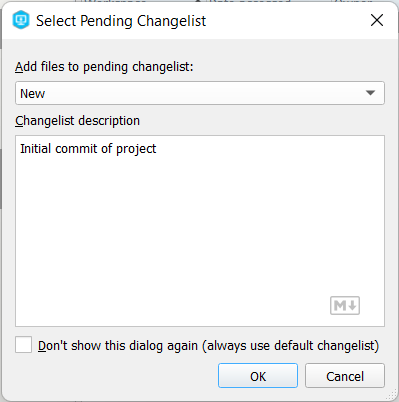
On the next dialog, select New for the drop down menu and type in description and then click OK
Now on the right, click the Pending tab and right-click on the changelist you just created and select Submit...
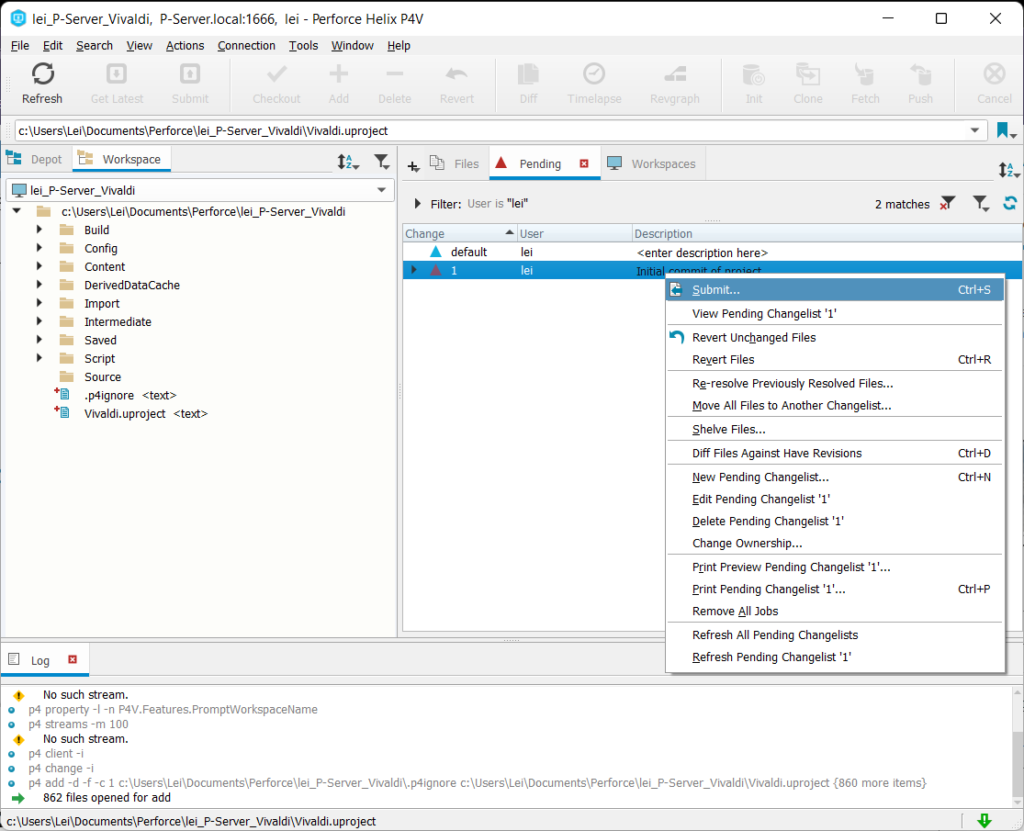
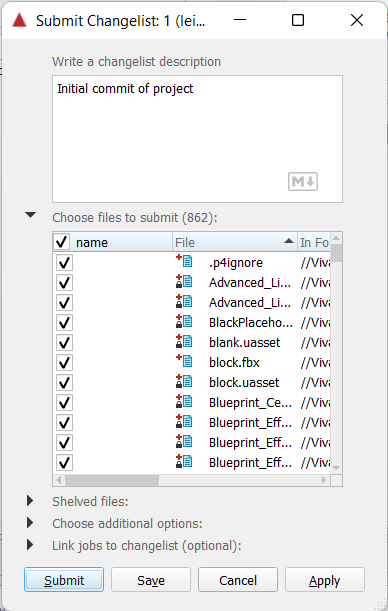
In the resulting dialog, you can add to the description if you want. Then click Submit.
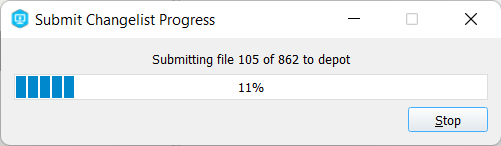
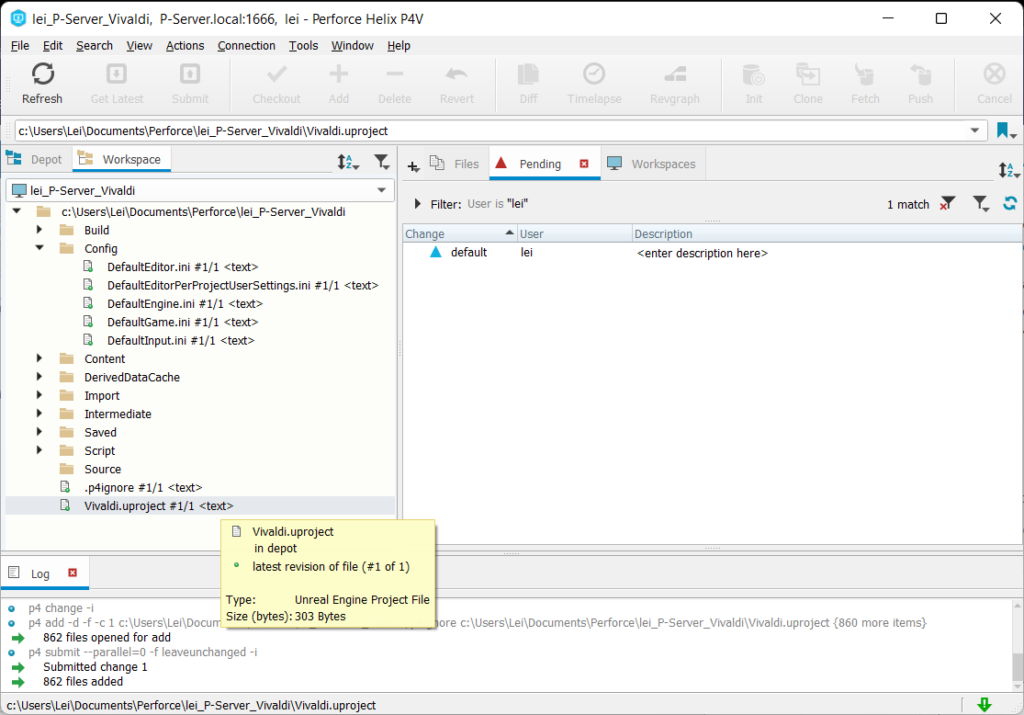
P4V will then add these new files to the depot (may take awhile depending on size of UE project)
Congratulations, you have your first UE project set up in Perforce!
Setting up Perforce clients
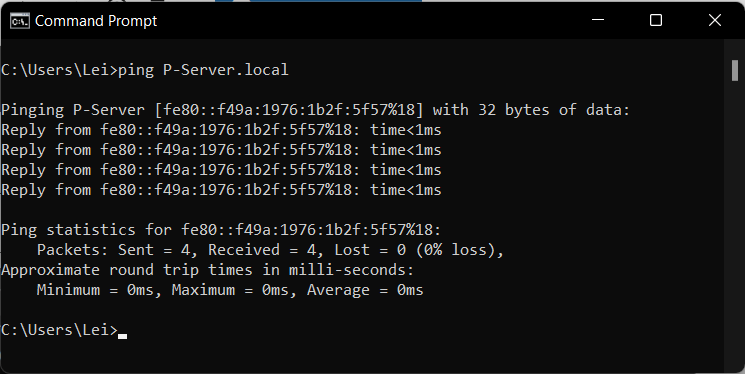
Now, one needs to be a bit careful since the Server hostname are not typically being resolved by DNS. On the client machine (that’s not the server), start a Command Prompt and type ping P-Server.local and hit Enter. If you get an error, stop here and figure it out. There is no way this is going to work if you can not ping the server.
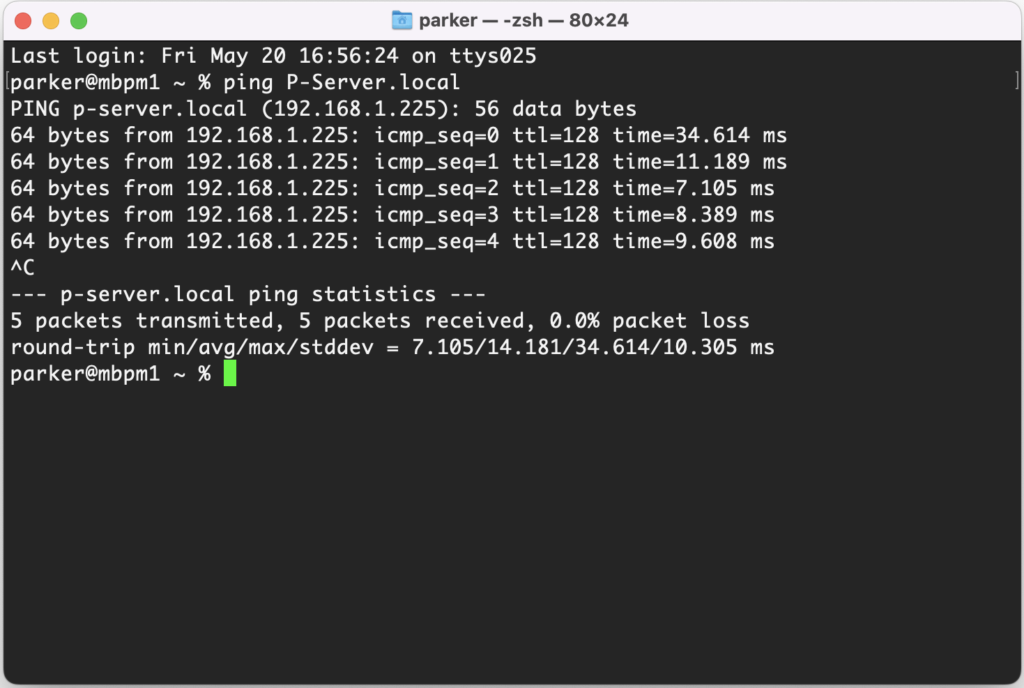
On Linux/macOS, start Terminal and type ping P-Server.local to confirm the client can find the server. If there are errors, stop here and figure it out.
Now we will install P4V on the client machine. Follow the section Installing P4V above to install (only have to install once per each client machine, of course).
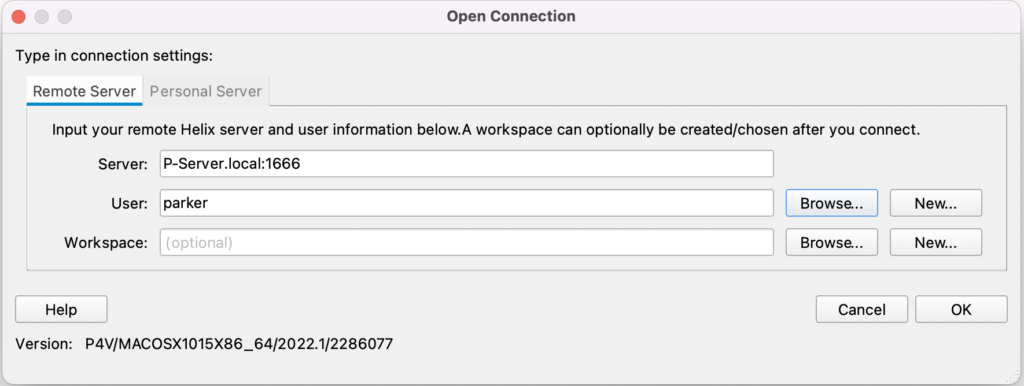
We will setup P4V on a macOS machine for variety. Start up P4V and since this is a new install you will get an Open Connection dialog. Ensure Server is set to P-Server.local:1666 and select a User (you can use the Browse... button to find users defined on the server). Click OK.
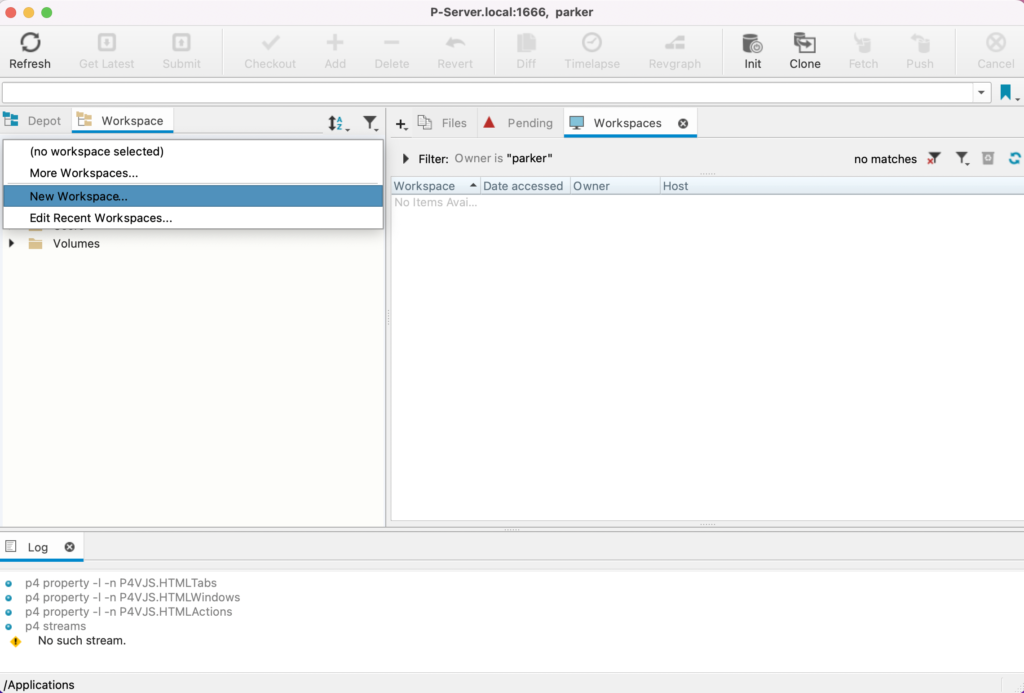
We now need to create a Workspace for this user and client for our UE project. On the left, click the Workspace tab and under the drop-down menu select New Workspace...
Select Browse... to the right of Workspace root
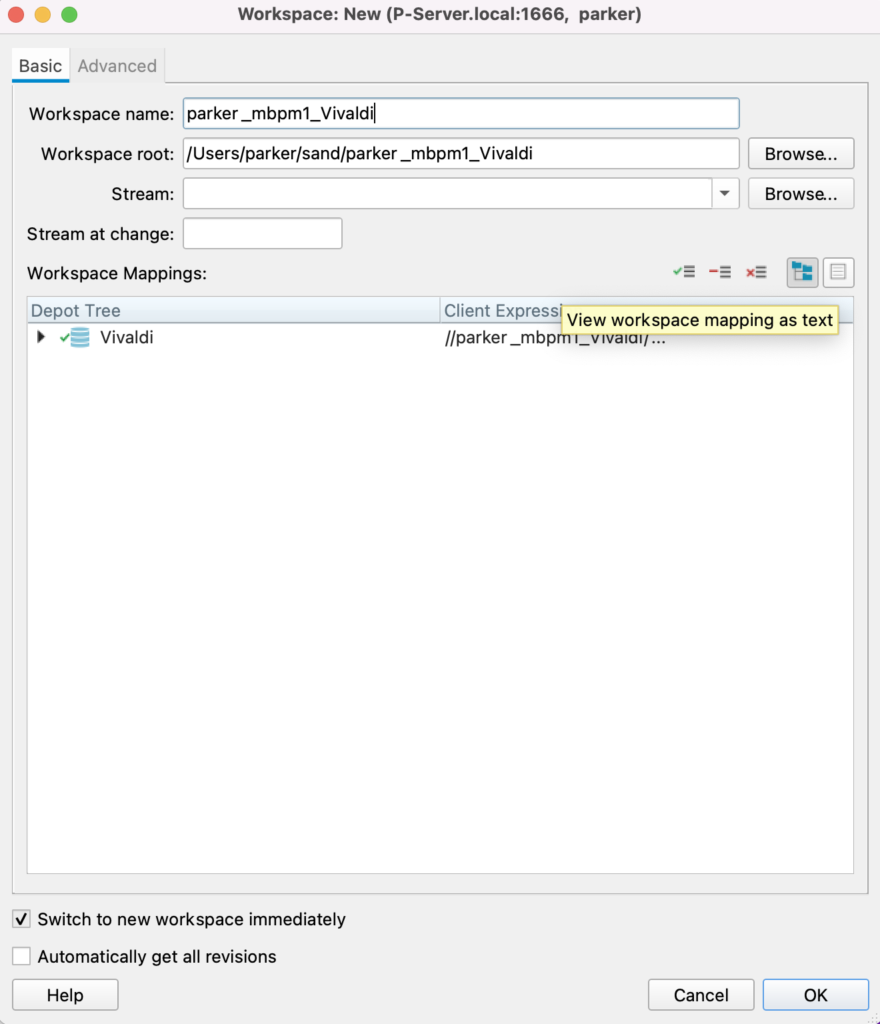
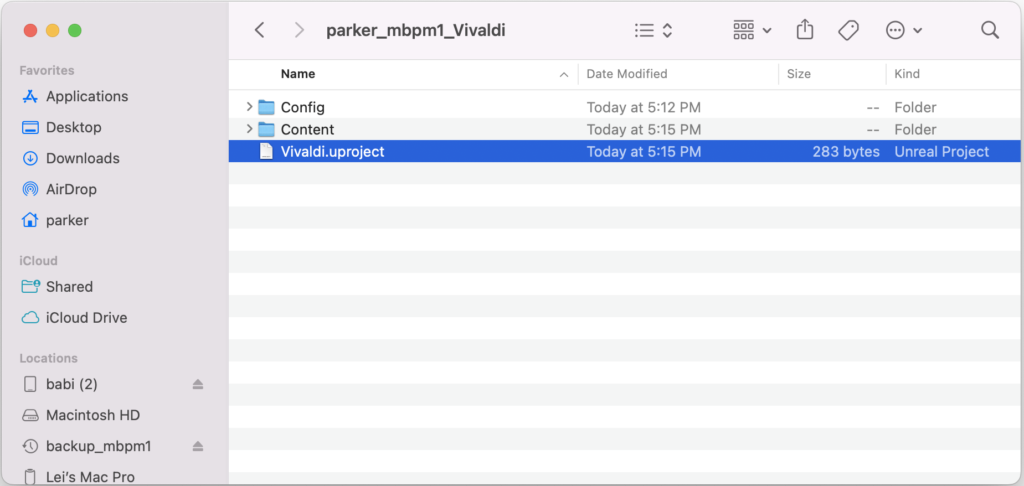
Navigate to the parent folder where you want to store the local working copy of the UE project. Then click New Folder and type in <user>_<client machine>_<project> (for us this would be parker_mbpm1_Vivaldi). Once created, select it and click Open.

Ensure that only the depots that have the desired UE project have a green check mark. For all other depots, right click and select Clear (otherwise click View workspace mapping as text and delete all lines that have the incorrect depot).
Click the Advanced tab on top and select Rmdir option and for the On submit drop down menu select Don't submit unchanged files. Click OK.
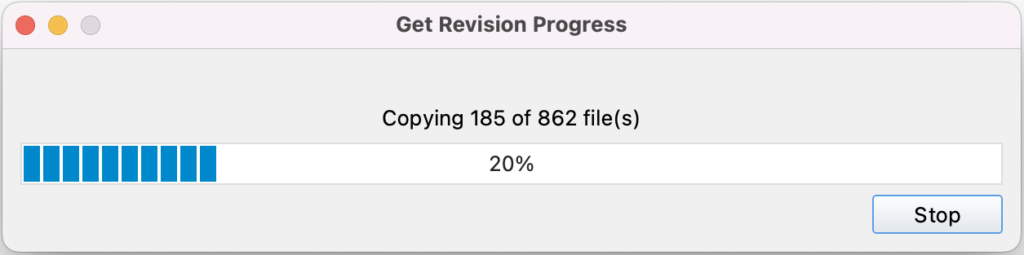
Under the Workspace tab on the left, select the Workspace root and then click Get Latest on top.
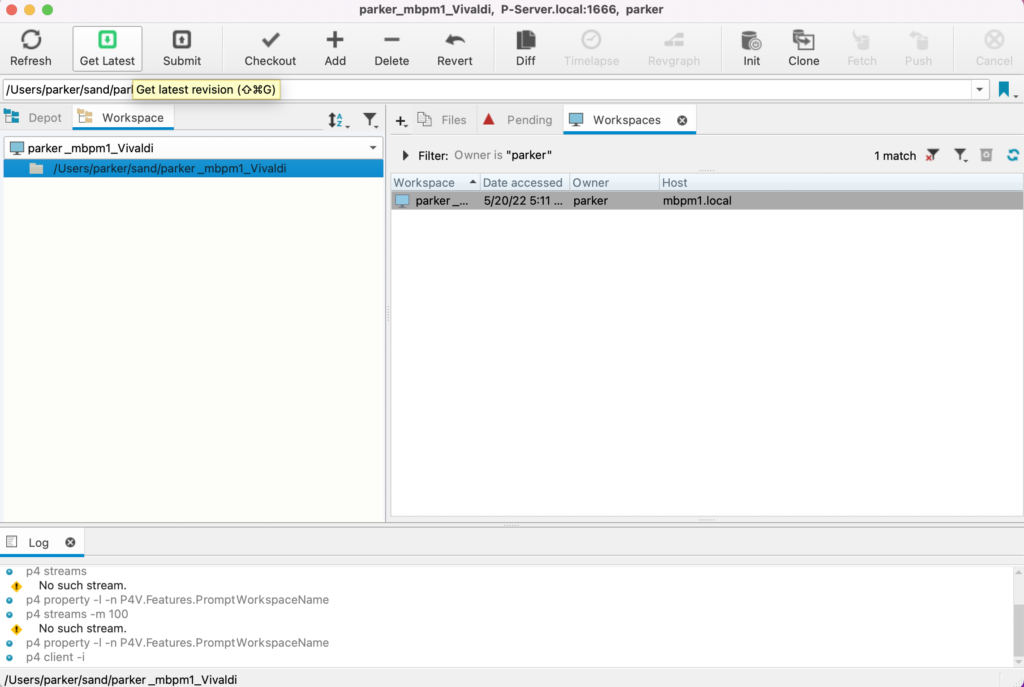
This will fetch a working copy of the UE project into the Workspace root. It may take awhile, simply wait until it is finished.
Once the working copy is fetched from the server, in the Finder (or Windows Explorer on Windows), navigate to the Workspace root and double-click the UE project to start UE.
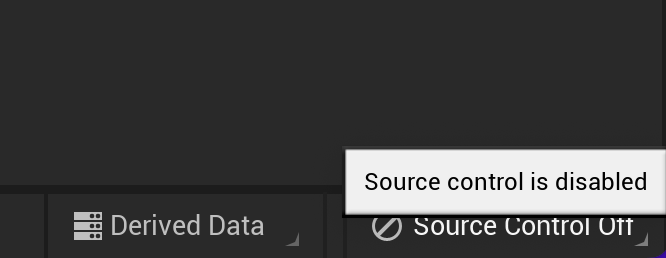
Once UE starts, on the bottom right, there is a pop-up menu for Source Control which should be showing disabled.
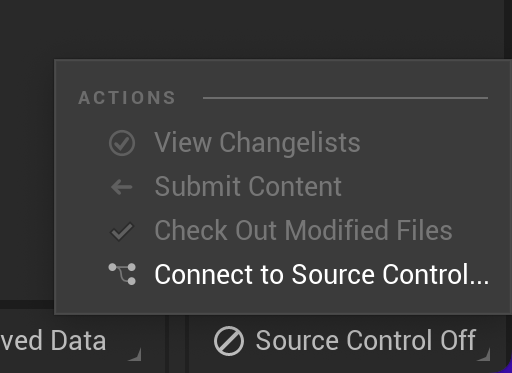
Click on the Source Control pop-up menu and select Connect to Source Control...(or, equivalently, from the Tools menu select Change Source Control Settings...)
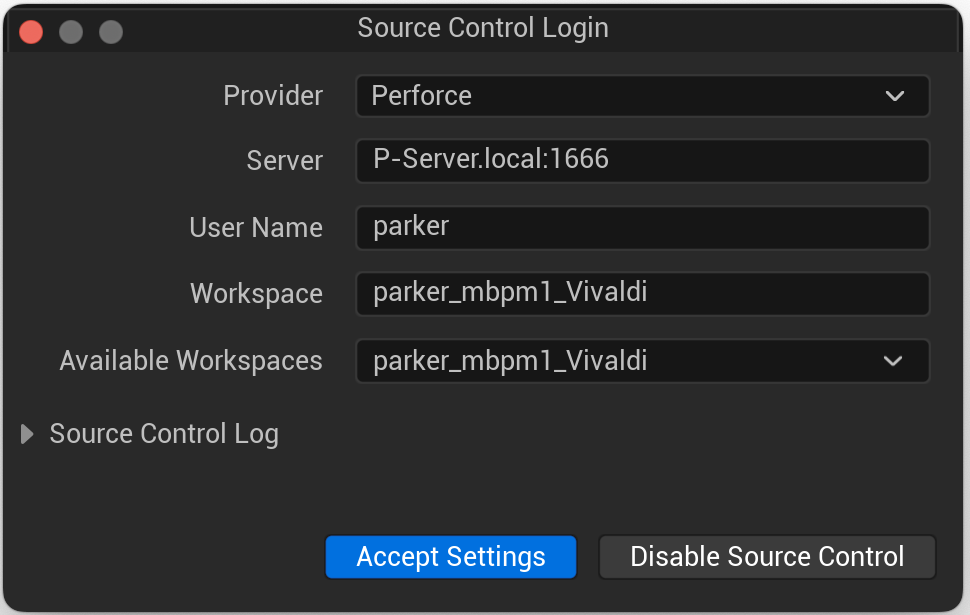
In the resulting dialog box, select Perforce for Provider, type in P-Server.local:1666 for Server, type in the user name and for Workspace either type in the Workspace name or from the Available Workspaces, select the relevant Workspace. Click Accept Settings
You will then see, on the lower right that Source Control is now in effect.

You need to repeat this section for each client machine, user and UE project.
Add a Comment